I wanted to put a name or number on my still and was trying to figure out a way of doing that when I saw segment on How-its-Made on horse bit making and they soldered some decorative metal onto the bit to make it look fancy.
After seeing this I figured I could cut out some brass and solder it onto the column of my pot still. I came up with a very original name/number for the still 'No1' :>
So I played around with some fonts and numbers in a graphics program until I found one I liked and then enlarged it and printed it out. I dug up a old brass door push I had and sprayed glued the No1 onto it and then cut it out with my scroll saw.
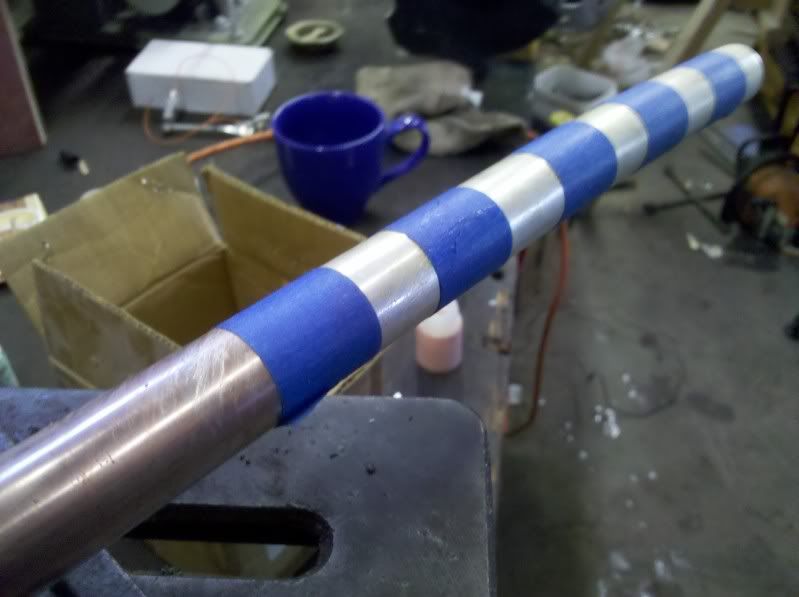
After getting the pieces cut out and arranged in order with some double sided tape I slightly bent them around some 1 1/2" pipe, I figured this would help fit the cut outs to my 2" diameter column with the spring back of the brass. I tinned the backs of the letters and then used hose clamps to place the lettering on the column.
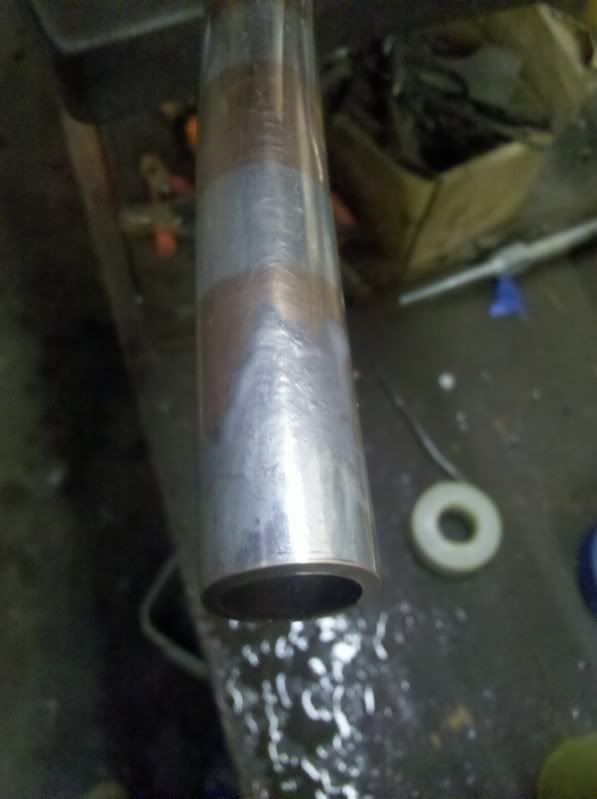
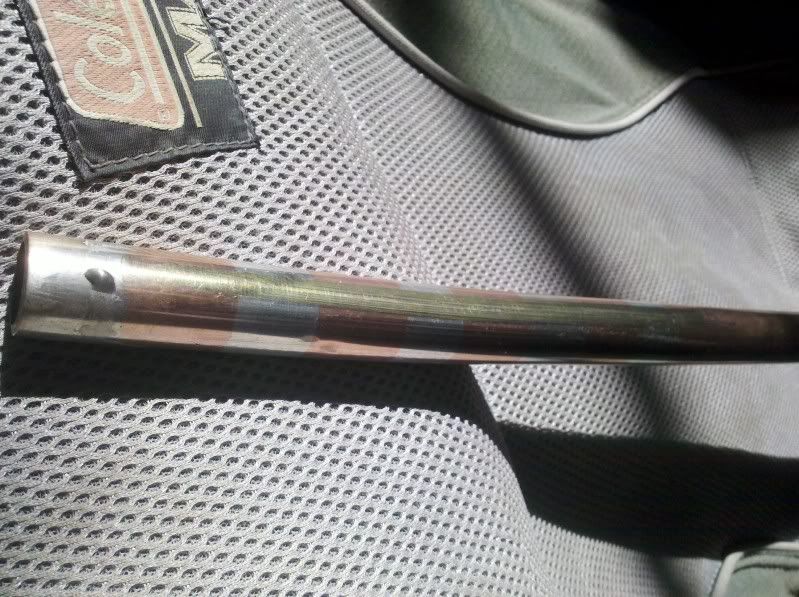
I then heated the brass with my torch until the solder melted, I felt and heard the hose clamps close a little which indicated to me that the solder was molten. After everything cooled a little I removed the clamps and checked out my decoration in the rough.
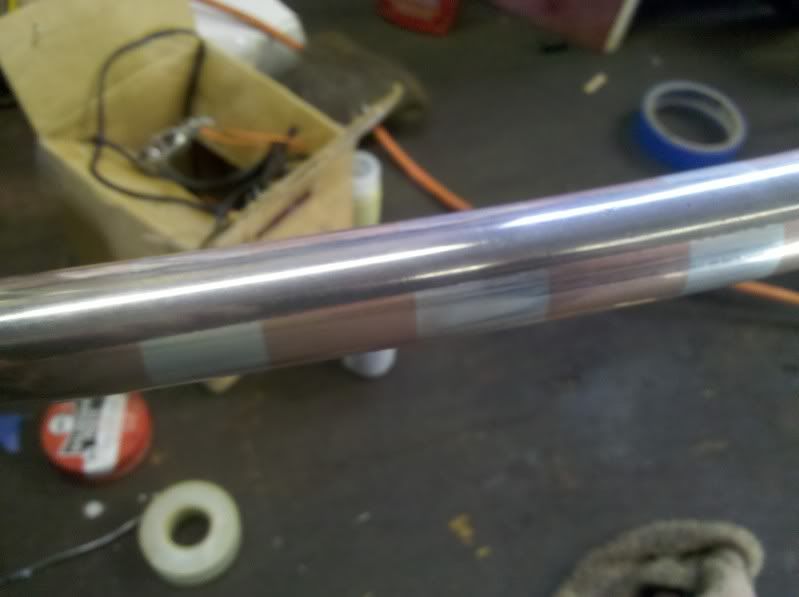
After some cleaning and some painstaking solder removable (next time I will go a little lighter on the tinning) I got my decorative name/number :>
Just need to make a case and I will call this still's construction done.
I think on my current project Ill get a bit more ambitious with the decor and maybe put some flames or vines around my sight glass fittings and of course a No2 :>