My First Still Build (Stock Pot)

Post your builds here.

Moderator: Site Moderator

Ky_backwoods
Novice
Posts: 19
Joined: Wed Jan 08, 2014 3:50 pm

Re: My First Still Build (Stock Pot)

Post by Ky_backwoods »

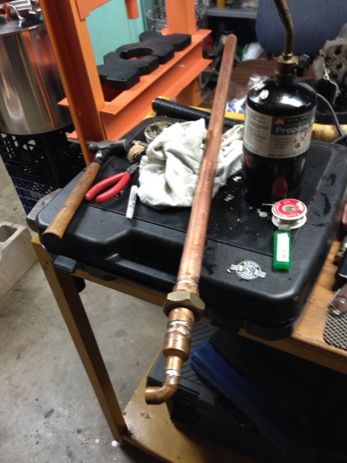
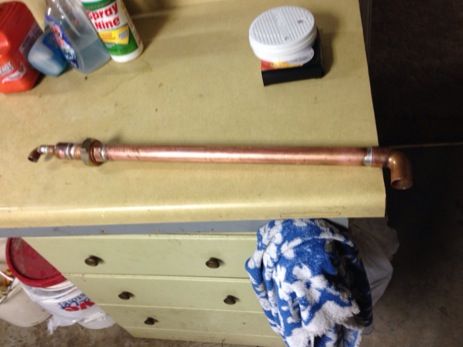
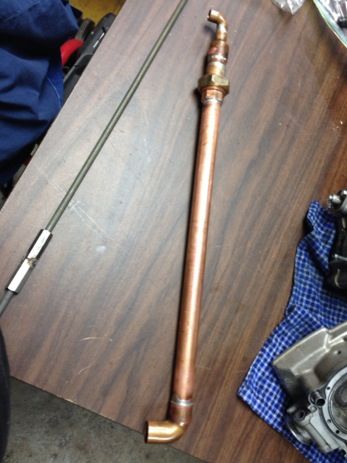
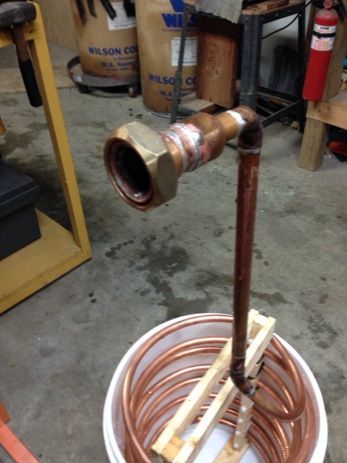
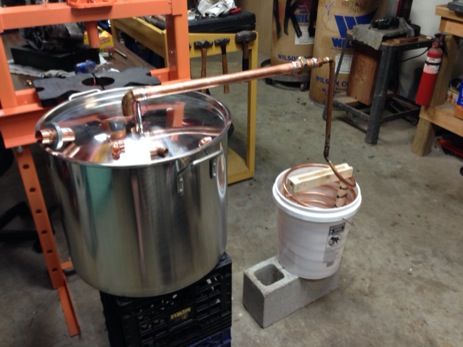
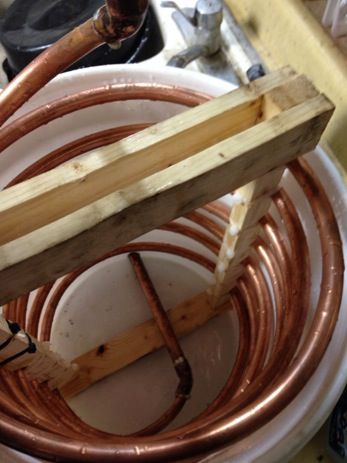
Progress. Please no bashing on my soldering. It's my first time. Lol

Image
Image
Image
Image
Image
Image
Image
Image
User avatar
BDF
Swill Maker
Posts: 249
Joined: Sun Dec 30, 2012 7:38 pm
Location: USA Midwest

Re: My First Still Build (Stock Pot)

Post by BDF »

How, may I ask, are you planning to mate your copper pipe to the lid of the stock pot?
Ky_backwoods
Novice
Posts: 19
Joined: Wed Jan 08, 2014 3:50 pm

Re: My First Still Build (Stock Pot)

Post by Ky_backwoods »

BDF wrote:How, may I ask, are you planning to mate your copper pipe to the lid of the stock pot?
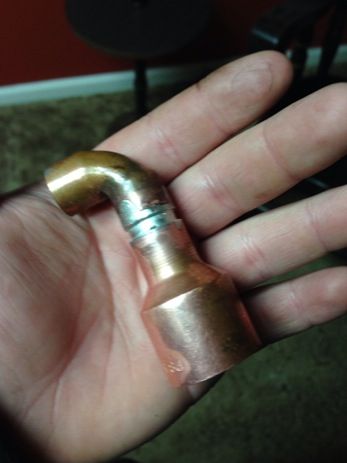
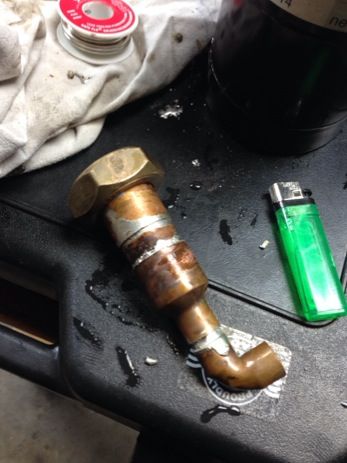
I'm putting a bowl on the lid first. But same concept when your using just the lid. I'm taking a male and female adapter and putting the male end through the washers for spacers. Then I'll put the female on the bottom of the lid and clamp the adapters together. I know a terrible explanation. I will post pics later
User avatar
BDF
Swill Maker
Posts: 249
Joined: Sun Dec 30, 2012 7:38 pm
Location: USA Midwest

Re: My First Still Build (Stock Pot)

Post by BDF »

Ky_backwoods wrote:
BDF wrote:How, may I ask, are you planning to mate your copper pipe to the lid of the stock pot?
I'm putting a bowl on the lid first. But same concept when your using just the lid. I'm taking a male and female adapter and putting the male end through the washers for spacers. Then I'll put the female on the bottom of the lid and clamp the adapters together. I know a terrible explanation. I will post pics later
Something like this?

Image
Ky_backwoods
Novice
Posts: 19
Joined: Wed Jan 08, 2014 3:50 pm

Re: My First Still Build (Stock Pot)

Post by Ky_backwoods »

Exactly like that!
Horsecreek shine
Novice
Posts: 93
Joined: Tue Dec 24, 2013 8:12 pm

Re: My First Still Build (Stock Pot)

Post by Horsecreek shine »

Worm looks good!
Personal gratification comes from doing!! , not taking , or asking for , but in the actual accomplishment of something
dm2211
Novice
Posts: 3
Joined: Thu Jan 09, 2014 9:06 am

Re: My First Still Build (Stock Pot)

Post by dm2211 »

Looks really great I will try to build something like this myself :D
User avatar
Danespirit
Site Donor
Site Donor
Posts: 2647
Joined: Tue Dec 25, 2012 8:09 am
Location: Denmark

Re: My First Still Build (Stock Pot)

Post by Danespirit »

Looks good! :)

Don't worry about your soldering job. It' looks like it should be ok. :thumbup:
For a first time try it's fine..i've seen much worse than this.
Interessting how it will perform, after a cleaning run of course..
Ferg1
Novice
Posts: 12
Joined: Fri Jan 10, 2014 6:11 pm

Re: My First Still Build (Stock Pot)

Post by Ferg1 »

I've got 1.5' coming out of my pot still used a stepdown bit threaded male adapter into lid street 90 into that and use a flour mix to seal.I did this cause i have 3 different lids so i just remove the male adpter from lid to lid till i find out which produces the best.Good luck
Your Plott or Your not!
User avatar
Deezil
Swill Maker
Posts: 175
Joined: Sat Jan 18, 2014 8:34 am
Location: PNW

Re: My First Still Build (Stock Pot)

Post by Deezil »

sub'd

will be building my rig next week, what did you form the worm around?

Looks good!
User avatar
Deezil
Swill Maker
Posts: 175
Joined: Sat Jan 18, 2014 8:34 am
Location: PNW

Re: My First Still Build (Stock Pot)

Post by Deezil »

get this thing done yet?
User avatar
iwine
Site Donor
Site Donor
Posts: 138
Joined: Tue Jun 17, 2014 11:08 pm
Location: The great white north

Re: My First Still Build (Stock Pot)

Post by iwine »

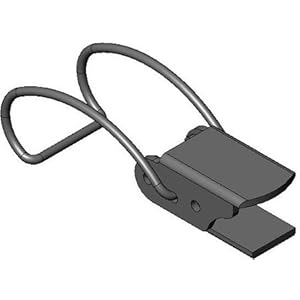
DFitz wrote:When I first built my stock pot still I added a stainless bowel to the top. A 3"x12" pipe for the column to attach a lyne arm and product condensor. While your condenser is the worm line, the bowl attached will work well. I attached the bowl drilling holes about 1" apart then connecting the two with machine type screw fasteners. The gasket was made using cardboard wrapped with Teflon tape. For immediate use I opted for the pinch type clamps but later bought these for a more permanent use.
Image
The column was attached to the bowel using a stainless exhaust collector and gasket. this was brazed to the column tube and fastened to the bowel with mechanical fasteners using the collector gaskets to seal the connection. Its worked well for me over the past couple years thus far. I also added a 2" nipple and ball valve at the bottom of the stock pot to make this a double duty pot for cooking and stilling.
Image
hope this helps
Hi nice outfit. Where did you buy those clampes. Im getting the stuff togeather for my first buids.
User avatar
skow69
Site Donor
Site Donor
Posts: 3230
Joined: Tue Dec 06, 2011 3:03 am
Location: Cascadia

Re: My First Still Build (Stock Pot)

Post by skow69 »

humbledore wrote:If you ever sweated copper it is not that hard to solder stainless. I saw a thread (sorry can't find it) where a guy used a copper end cap, maybe 1.5" or whatever his column width was. He made a ring of solder, of course used the right flux, and sat the copper cap down on it, right on top of the lid with the cup side up. Then he heated the lid and the fitting until the solder melted and it dropped down. Once it cooled he drilled a large hole through the copper fitting and lid. Sorry if that sounds confusing, it was pretty simple actually. No gasket, no rivets/bolts. The desired solder/flux is Harris StayBrite #8 and Harris StayClean flux, but I have done it with Oaklely flux and silver solder also, purchased at Menards.
Edit: this thread has some pictures of something similar to what I'm saying...this guy first tried to use bolts then went with solder:
http://homedistiller.org/forum/viewtopi ... 15&t=18056
Here is the thread: http://homedistiller.org/forum/viewtopi ... =2&t=39820.
Really good information there.
Distilling at 110f and 75 torr.
I'm not an absinthe snob, I'm The Absinthe Nazi. "NO ABSINTHE FOR YOU!"
Post Reply