Started my build today based off of Pint-o-shine's plans. Its awesome that there are guys out there that have done so much work in planning and sharing there work for the rest of us getting into this hobby. Thanks pint-o, wherever you are!
Cost for build and suppliers:
3' x 8' Sheet of 16 oz copper - $108 @ABC Supply
1/2" copper rivets $10 @Amazon.com https://www.amazon.com/Hillman-Group-14 ... per+rivets" onclick="window.open(this.href);return false;" rel="nofollow
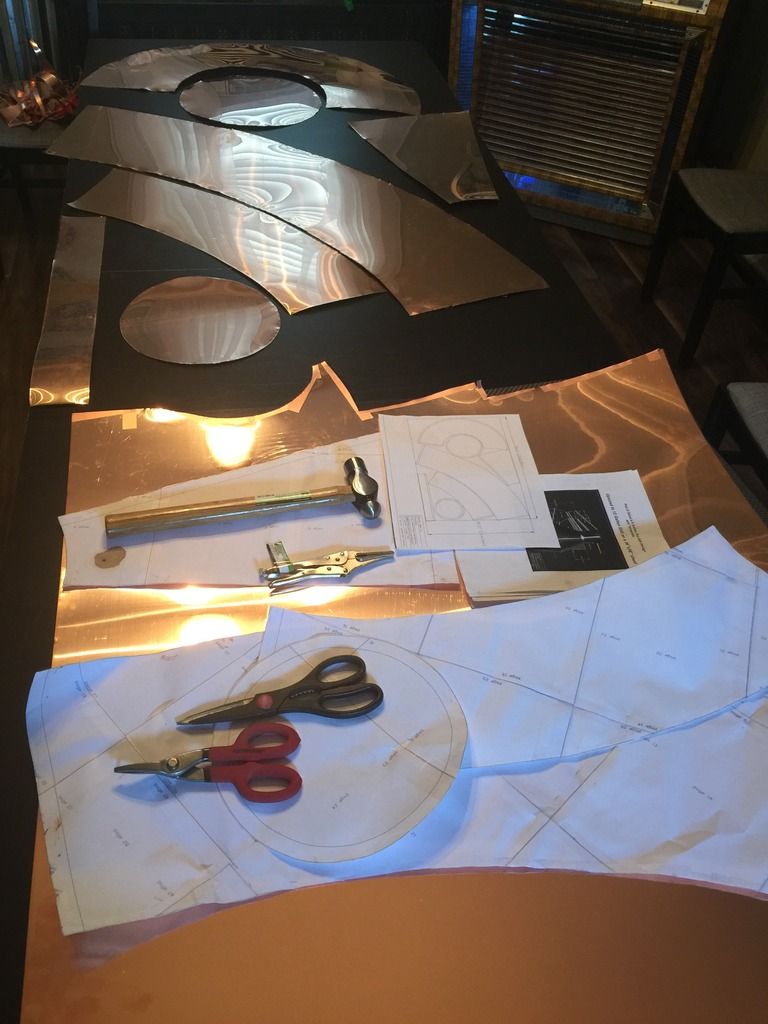
Started by printing out the template and cutting the copper. I read a lot about 16 oz copper being too flimsy and such, but it certainly feels heavier than I expected. Used tin snips to cut the copper.
Last edited by jprice on Fri Jul 01, 2016 6:39 pm, edited 1 time in total.
shadylane wrote:Just a thought
Slow down brother.
anneal and tap on the coper until it's just right
and then solder.
Thanks for the advice. To be honest, after reading, planning, and watching videos on working copper, it's still more of a pain in the ass than I expected! Learning more as I go, but i'm learning the importance of annealing the hard way for sure.
It's definitely more involved than I initially expected as well. I learned a lot of lessons building mine too. If I ever decide to build another copper pot I'm sure it will turn out far better.
Got the same still and used 16oz as well. It's served me well for a couple years now and still not sign of any problems.
Before you build the cap, get some scrap plywood and make yourself a pair of circular mandrels that are the size of the top of that cap on the inside of the lip. Clamp your copper after annealing between the two pieces with the 1/2" lip that is to be bent sticking out and tap away. Much easier than bend, anneal, bend, anneal, bend, anneal. And comes out nice and uniform and flat.
Before joining any parts, tin them first, clamp together, bit of heat, then go over with a bead of solder,
I've build the 12 gallon, the 6 gallon with flake stand, and just recently added an all copper thumper. For the lyne, a simple lap joint will suffice instead of trying to get fancy with other joints. Same with cap and collar. Provided you do a good fit-up and solder. The rivets are a good idea on the boiler for sure, that's what i went with. If you want, my build thread is in my sig.
Oh, and welcome. Sharing your enthusiasm and excitement as it brings me back to my first real build! Keep posting them pics, love the copper!
moosemilk wrote:Got the same still and used 16oz as well. It's served me well for a couple years now and still not sign of any problems.
Before you build the cap, get some scrap plywood and make yourself a pair of circular mandrels that are the size of the top of that cap on the inside of the lip. Clamp your copper after annealing between the two pieces with the 1/2" lip that is to be bent sticking out and tap away. Much easier than bend, anneal, bend, anneal, bend, anneal. And comes out nice and uniform and flat.
Before joining any parts, tin them first, clamp together, bit of heat, then go over with a bead of solder,
I've build the 12 gallon, the 6 gallon with flake stand, and just recently added an all copper thumper. For the lyne, a simple lap joint will suffice instead of trying to get fancy with other joints. Same with cap and collar. Provided you do a good fit-up and solder. The rivets are a good idea on the boiler for sure, that's what i went with. If you want, my build thread is in my sig.
Oh, and welcome. Sharing your enthusiasm and excitement as it brings me back to my first real build! Keep posting them pics, love the copper!
Love your build, i did reference it a bit before i started down this path. Thanks for the tip on the cap, bending that shit was a whore!
Is the lap joint for the lyne just one lip overlaying about 1/2"? Initially I set out thinking I was going to do a welsh seam on it...but riveting and solder is complicated enough!
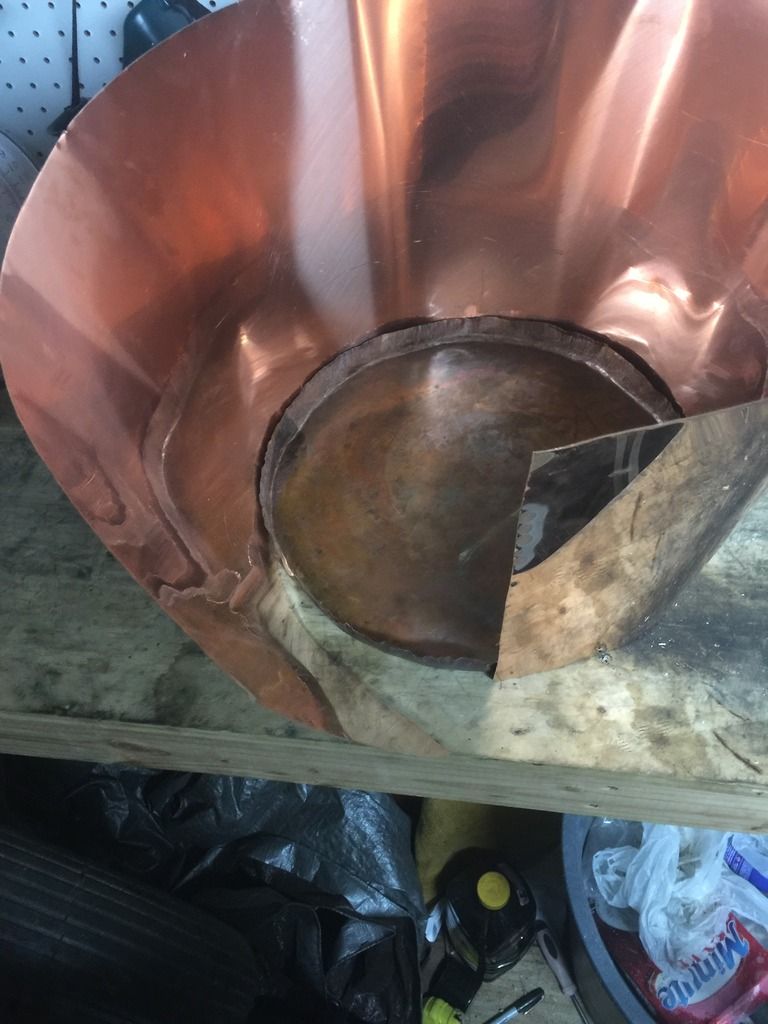
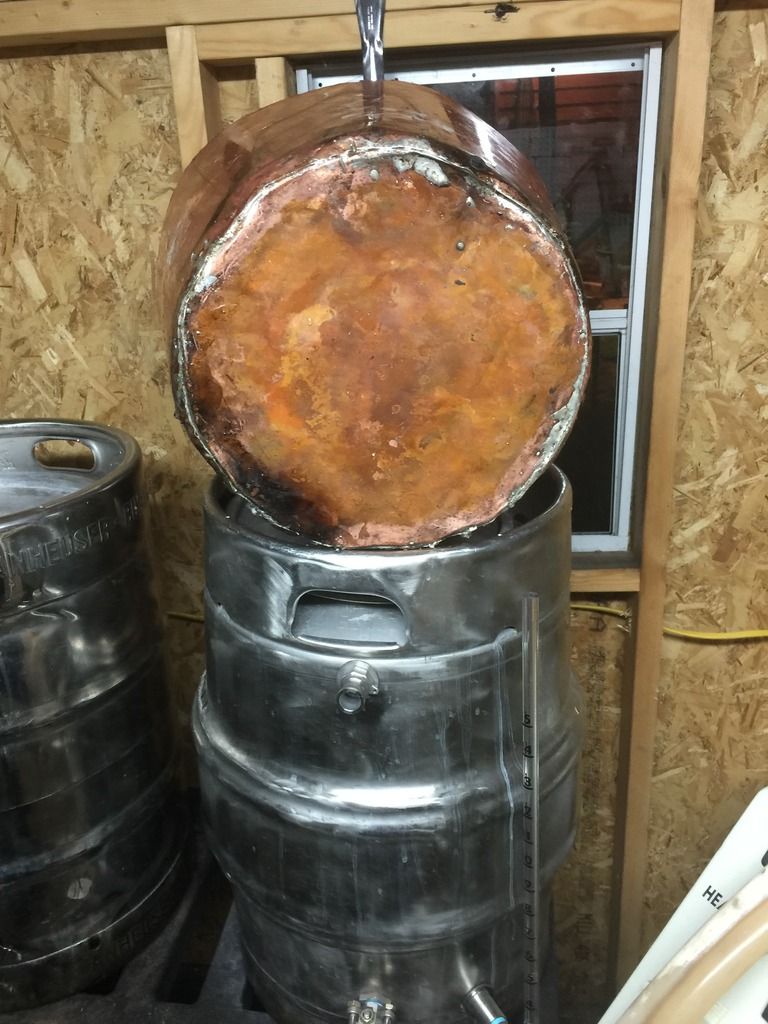
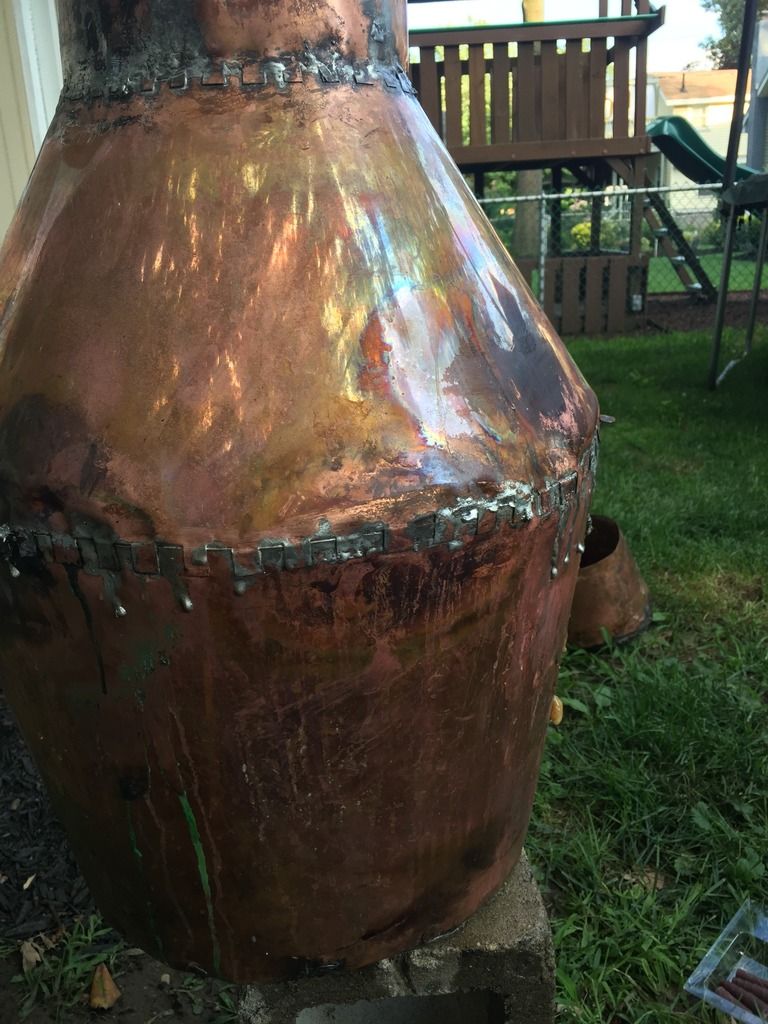
Don't take this the wrong way but I would never run that boiler on an open flame the way that bottom looks... As mentioned, slow down...!!! Maybe practice soldering a bit more because even though the solder joins aren't leaking now there is no guarantee that through heat expansion one couldn't appear... With no folded seam on the bottom things could go bad in a hurry...
Rad brings up a good point about the bottom. Overlap when you have the pan set on the inside is a definite good idea. I have my pan set on the outside. I tinned both first. Fit together and heated. Then fully soldered on the inside. Then put some wet rags on the inside while i soldered outside (this keeps your inside solder from melting and flowing out of place by drawing heat away). Also, that was the LAST joint I did. The rest of your build can still be done, but it's going to be a bit more difficult. When I attached the cap, by not having that bottom pan in gave me a nice big access hole to solder and rivet my cape to the bottom half, as well as the collar.
I wouldn't try a welsh seam on that lyne arm unless you have some copper you don't mind scrapping to practice with. A simple lap seam there would work. If you want, you could do a flat lock seam, it's relatively easy, but will not lay flat making joining to your cap or reducer a little more work.
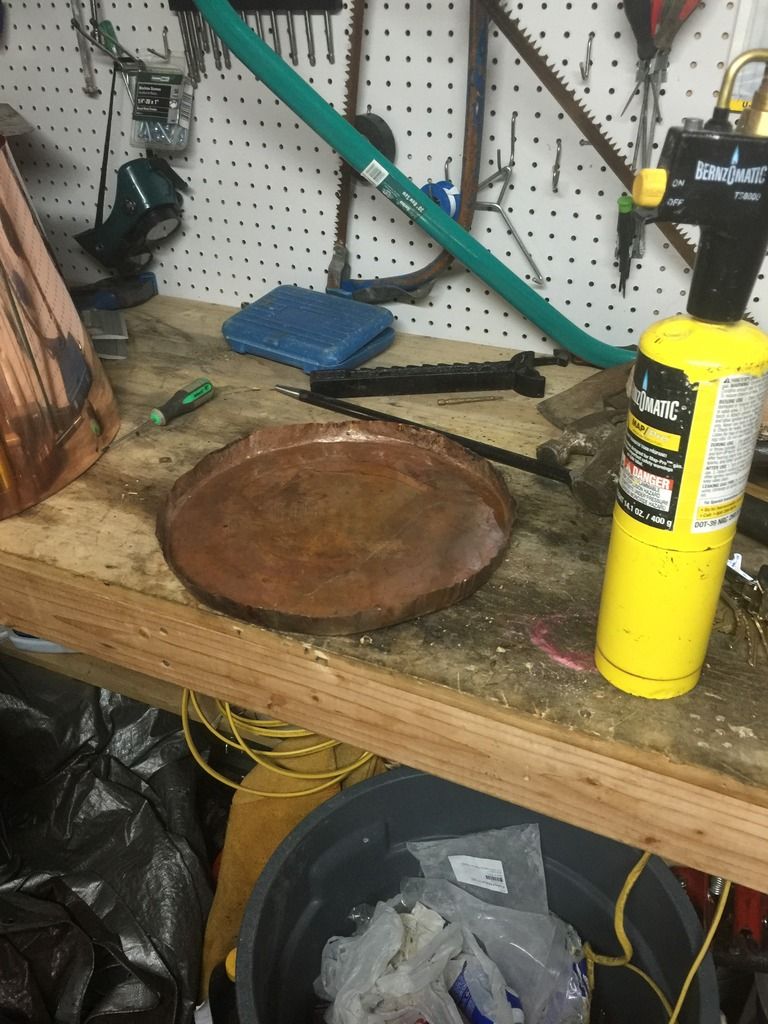
For your pan since it's worked to fit inside already, heat it up, pull it out and clean it up. Then flip it upside down from the way it is so it is slightly recessed. Then you can bend the lip of that pan and bottom of your boiler out and up together to give it better structural integrity, then solder.
*edit . . . added pic of types of seams for you. And the seam on the lyne should be 1/2" overlapping each other at least. A little more is ok for strength, but wouldn't go less.
It looks from the picture that you have quite the glob of flux that has settled in the bottom. I might suggest cleaning as you go because it can be difficult to get out. Make sure at the very least you are using water soluable, the regular is a real pain to disolve out of the nooks and crannies. I prefer liquid flux myself. With that you have to be diligent to rinse it clean when done working for the day as it will turn everything green in a hurry. The oxidized copper is harder to get out than the flux sometimes but you can get five pound bags of citric acid pretty cheap on Amazon. It does wonders.
I attached my frustrum by making the cone first, then flipping it upside down and setting the boiler into it, all of it upside down.
I clamped it this way and then ran my solder around the joint where the boiler wall hit the frustrum.
Then I trimmed the excess frustum material away, tapped it over onto the boiler wall, and then soldered that lap. Seemed like an easy way to get a tight joint there.
Shouting and shooting, I can't let them catch me...
MichiganCornhusker wrote:Bottom looks good to me. You have a good heavy lap joint all the way around.
I'm not seeing a lap joint... I would have installed the bottom the opposite way and folded part of the lip up over the outside of the frustrum wall... Soldering in as a pan doesn't provide a lap joint... Unless the pictures aren't showing a lap joint but I've zoomed in quite a ways and am not seeing one...
Posted the same time as MichiganCornhusker...
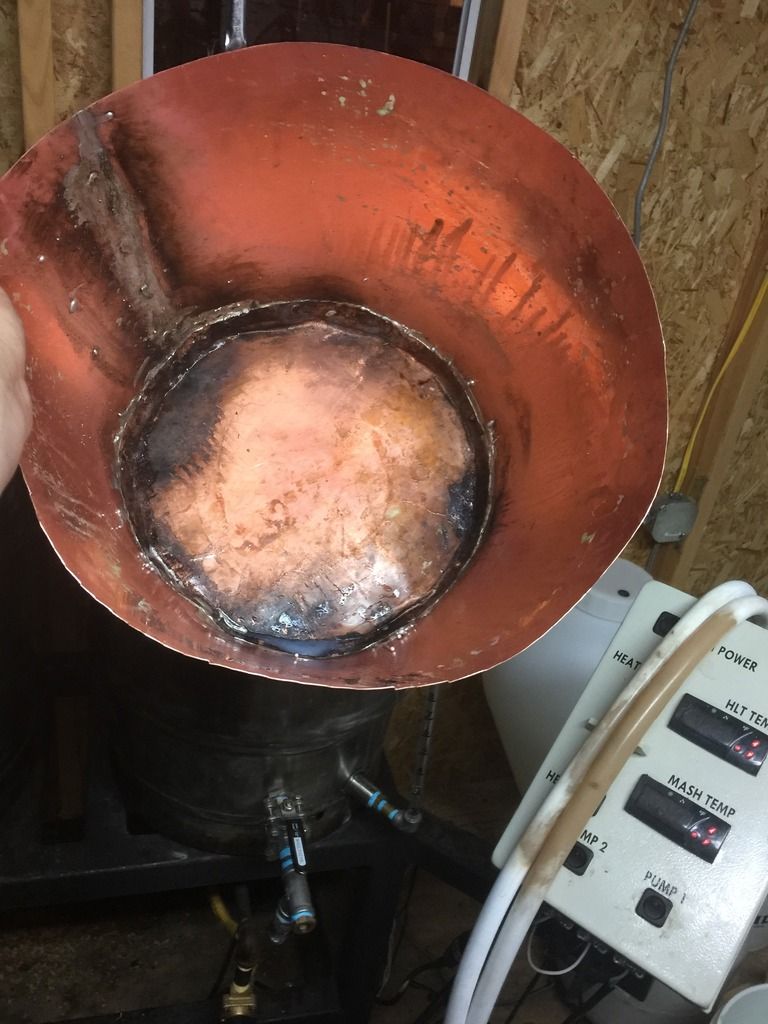
The pan sits inside the bottom creating a lap and is riveted, soldered, then peened over the bottom a bit to provide a little more support
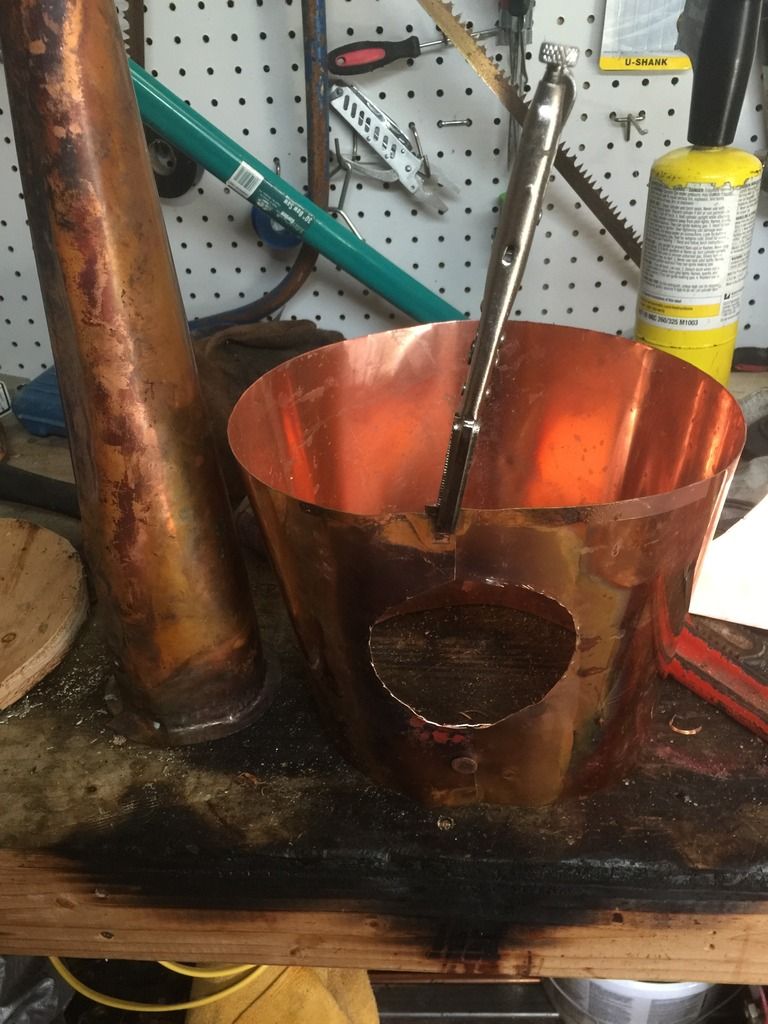
Got the lyne arm formed and made the flange by working the lip over to sit flush against the inside of the cap
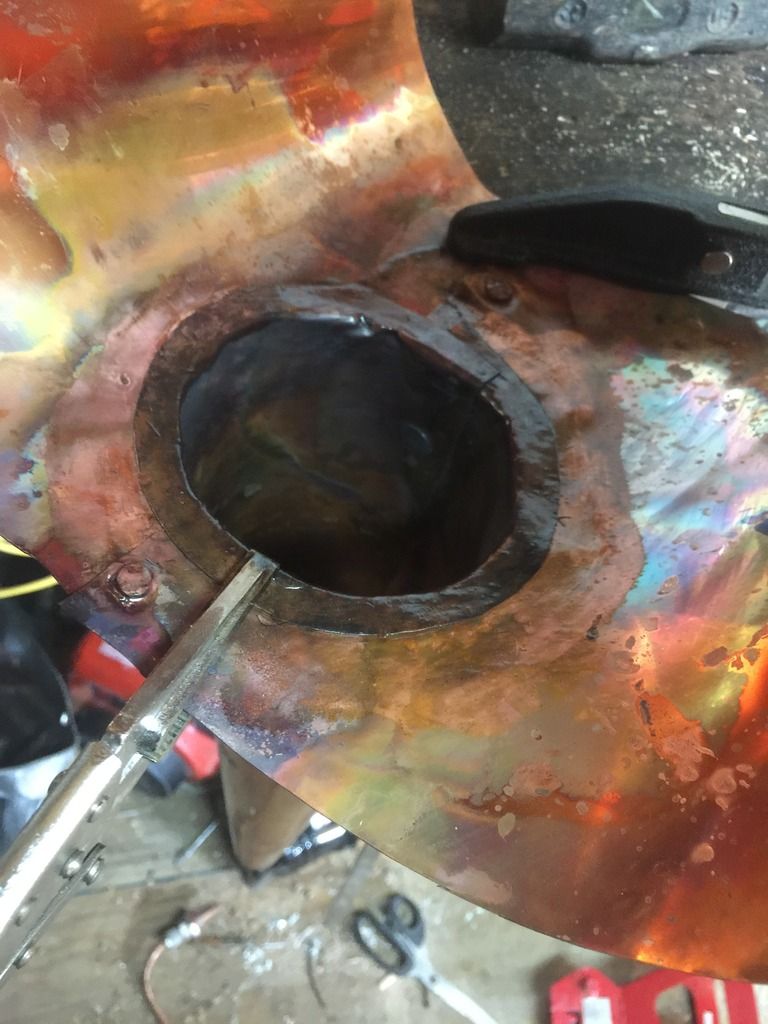
Put a rivet in the bottom and used vice grips at the top to hold the cut in place and cut the cap to fit up for the lyne arm. Took a few rounds of snipping and cutting, but finally got it to fit.
Fitted lyne arm, and flattened it out with many rounds of annealing and tapping
Nice job you did on mating the lyne with the cap! And good idea with the rivets to hold the boiler pan. Fun ain't it? I promise when you are done, it won't be your last!
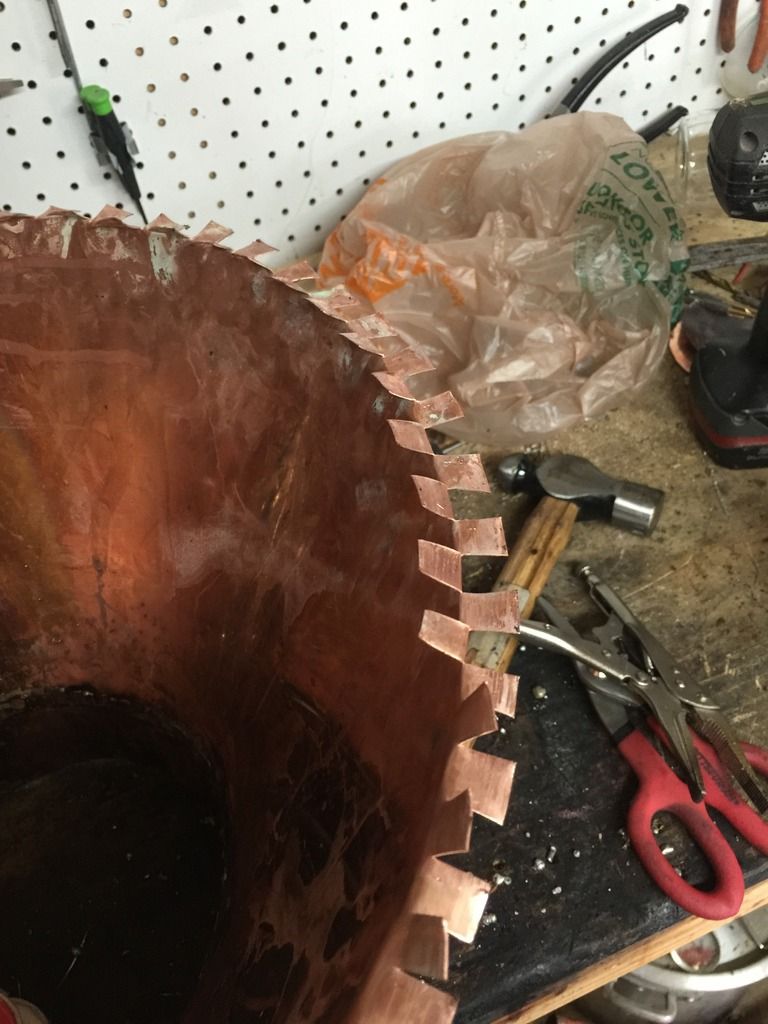
Ok so i had some problems with the mid section of the boiler. I tried tapping and fitting the collar, but ended up scrapping after not really having much luck getting the fit right and went with a welsh style seam.
It fitted pretty well this way and I soldered it in sections across from each other starting with a north south east west approch. Seemed to work out ok...till i filled it up with water! The collar tested fine, but the mid section of the boiler has about a dozen different small leaks now. I think I overheated the copper and dirtied up the joints and its to the point where it wont take anymore solder. I started pulling
off the tabs and sanding down the copper to get it clean with a small drum drill attachment, but im not sure this will give me the seal I want. Im considering cutting out 2" of the mid section and trying a new approach as plan B.