Sure, I could just let the washes ferment without the benefit of airlocks but there are several reasons why I prefer to use them. One reason I use them is because I always have, just as my father and uncles did years ago. Another reason is to keep things like fruit flies and other contaminants out of the wash. But perhaps the most important reason for using them is so I can keep track of the progress of fermentation. I make a note of how fast each wash is bubbling at the start and then monitor how quickly the bubbling progressively slows to a complete stop, indicating that it's time to either let the wash settle, or rack it into the boiler. Some washes bubble so aggressively at the start that there is no way to count the bubbles coming out, which is a good indicator of a vigorous ferment.
Anyway, on with the construction process. First, the parts list. You'll need an empty vitamin pill bottle, and old stick style pen, an an old dried up Sharpie marker or equivalent, and a hot glue gun. You can use a drill to make the hole through the cap and the bottom of the bottle, or you can use a soldering pencil to melt them like I do. I won't be providing step by step directions or pictures but I think the pictures provided will make construction relatively self-explanatory. It should go without saying that all parts should be properly sanitized both before and after assembly.
I start out by cleaning the pill bottle and removing the label, unless I'm too lazy to take the label off. It works just as well with or without the label. The nice part about this is that the lid fits the bottles and jugs perfectly. The bottles I use are the 60 – 100 count size.
Now, because I use a soldering pencil to make the hole through the cap and bottle I glue the two together first using a hot glue gun. I use a 40W soldering pencil to carefully melt a hole through the center of the assembly. As soon as the hole is big enough to allow the vent tube to fit through, all I need to do is to make sure it is properly positioned and somewhat straight. Then I just add a small amount of hot glue around the vent tube inside the cap and the airlock is done.
The nice part about this design is that I can use the original bottle cap on top of the airlock, only screwed on loosely, to keep the water from evaporating and to keep the cap from getting lost. Simplicity at its best. Better yet, it's made from parts just kicking around the house.
The raw parts used.
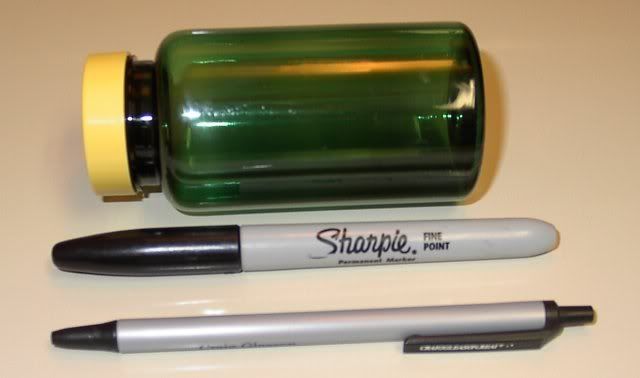
The actual parts used.
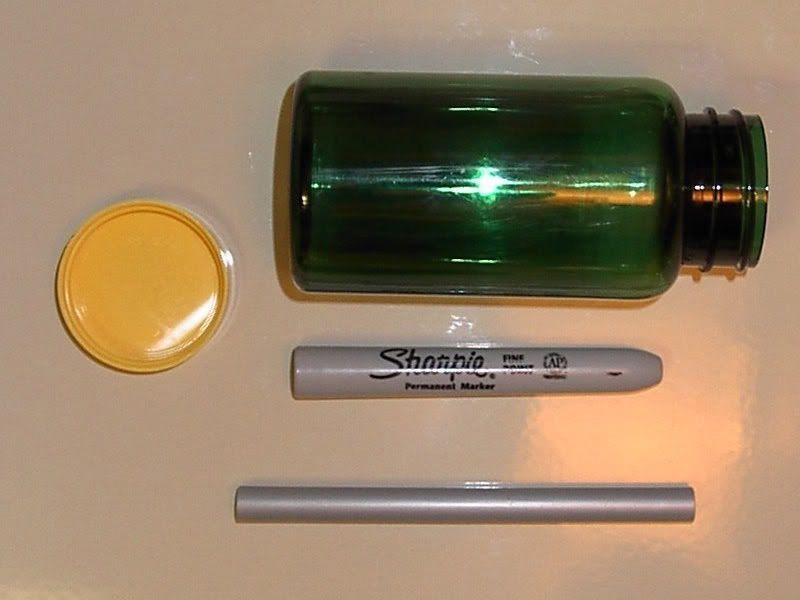
The parts laid out prior to assembly.
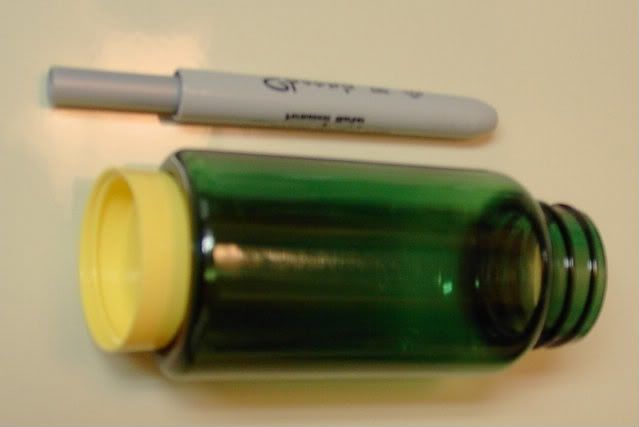
The finished airlock ready for use.
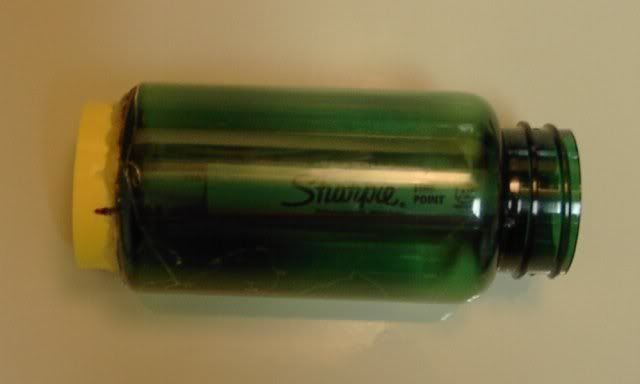
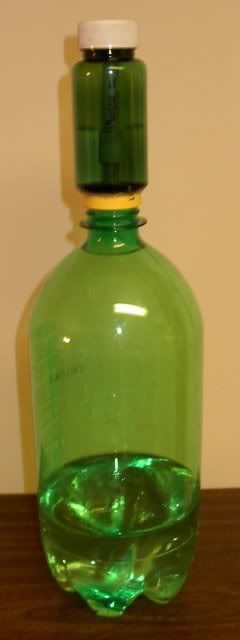
Example of what the airlock looks like in use.
I hope someone finds this information helpful. The entire process can be adjusted to individual needs and resources onhand.
If this topic would be better served in another section, I'd appreciate it if the moderation team would move it.