Triac Based Controllers
Posted: Mon Nov 27, 2006 3:51 pm
--Mod Edit--
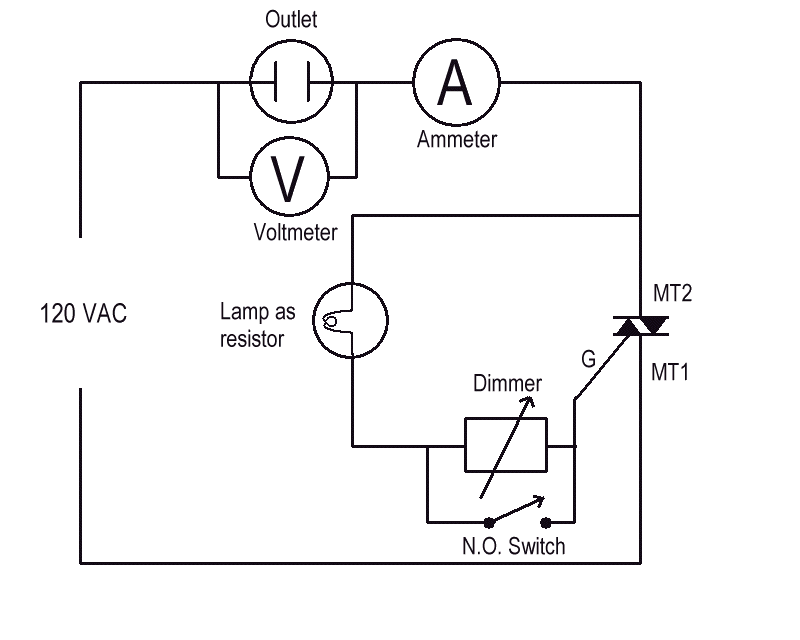
This topic has some schematics, builds, theory, and parts lists of different triac based controllers that different users have done. Please read and understand this topic before attempting to build a controller covered in this topic, or any electric topic for that matter. I cannot be over emphasized the importance of saftey when attempting to build. If you do not understand something, please ask. Or get someone qualified to do the build for you. Serious injury or death can result from improper assembly of electronic controllers.
Original Topic: http://homedistiller.org/forum/viewtopic.php?f=2&t=3342
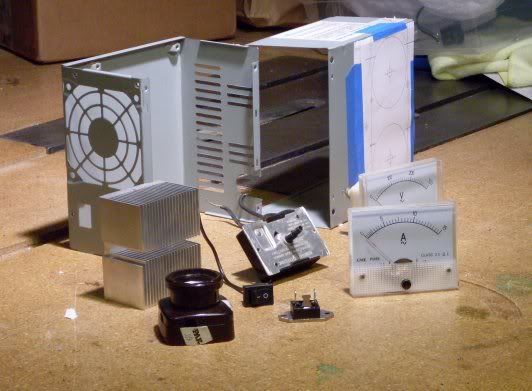
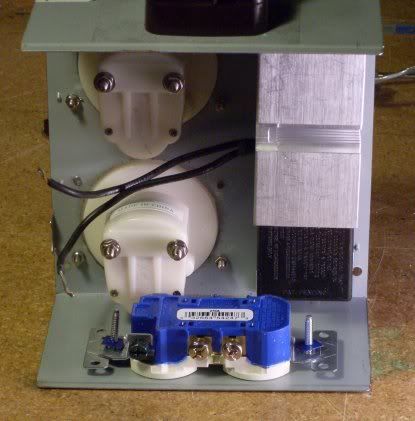
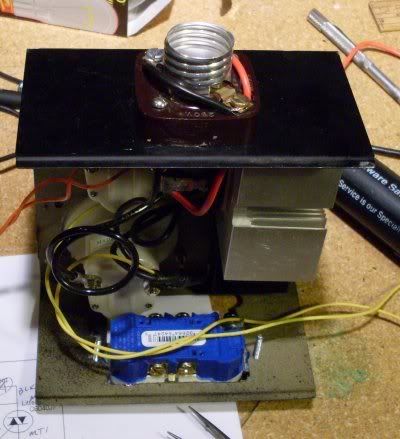
Here are the parts

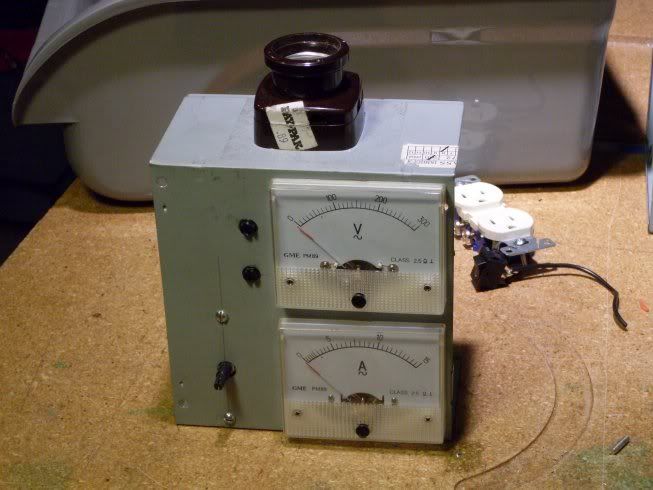
With the dimmer in place

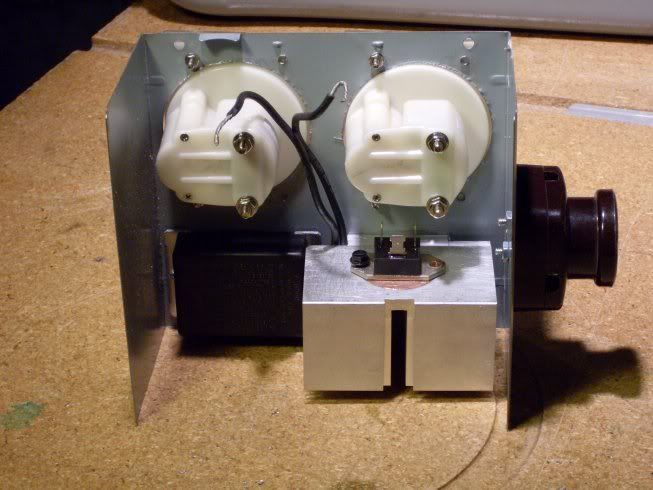
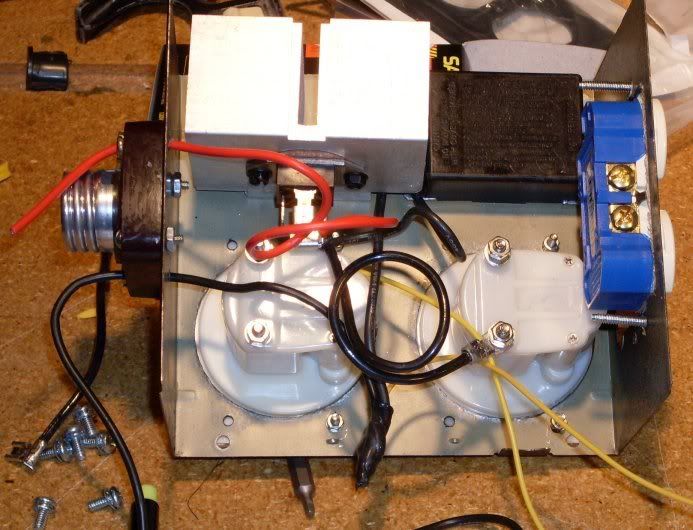
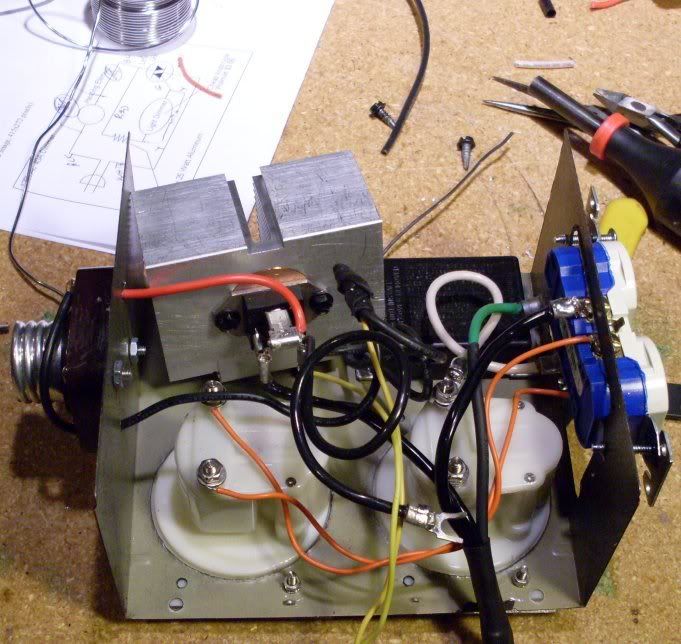
Inside wiring. For this to be correct the white and the yellow wires should be switched on the Triac. Also, the extra wire hanging goes to the near side of the resistor (I didn't have it connected in this picture).

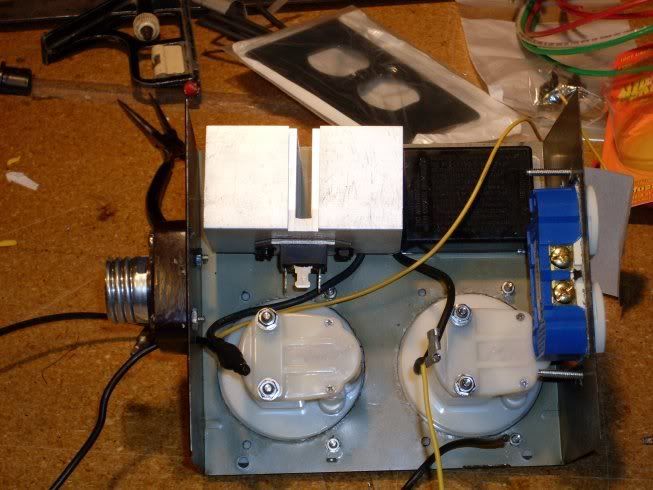
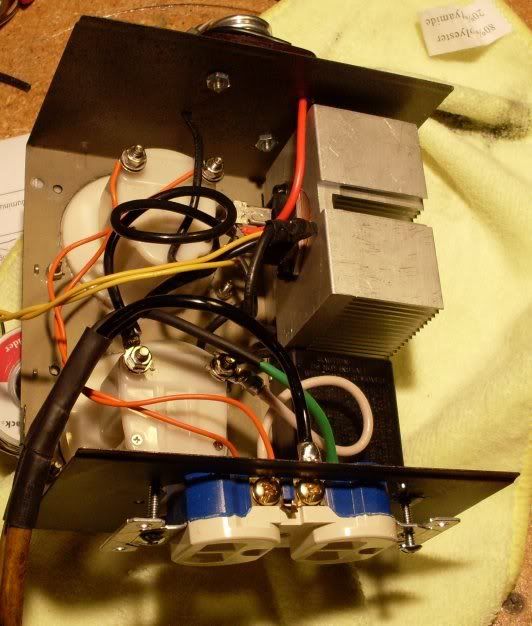
An earlier view of the inside wiring

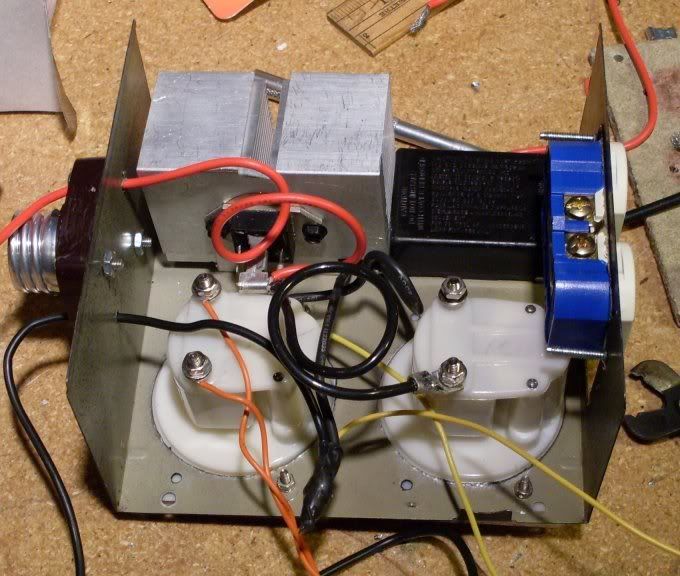
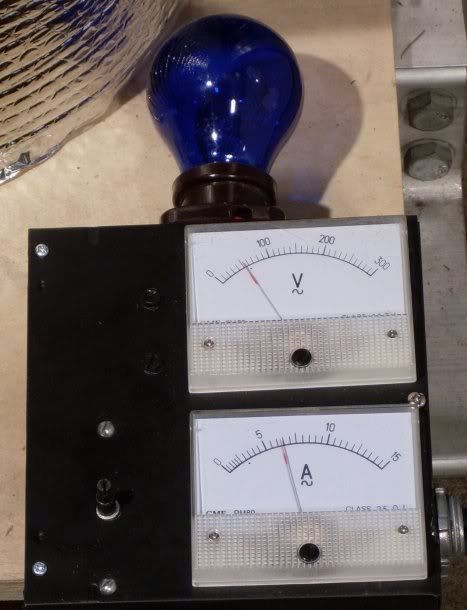
Here is a picture showing the back. The screw on the lower left knock-out is the screw holding the triac down to the bottom of the box. There are better ways to do it and I will post them as I build them.

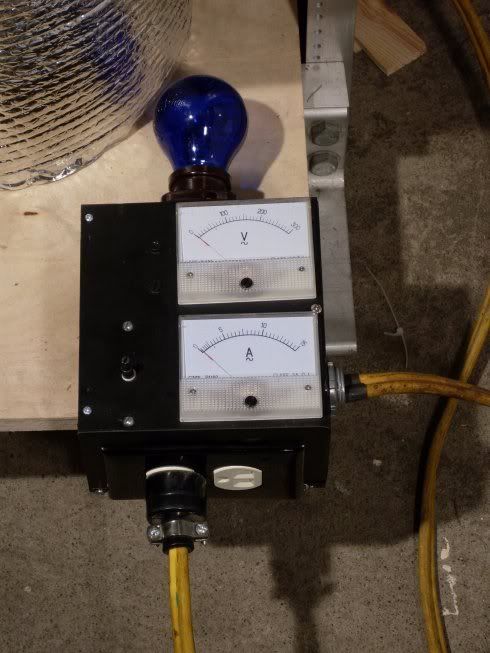
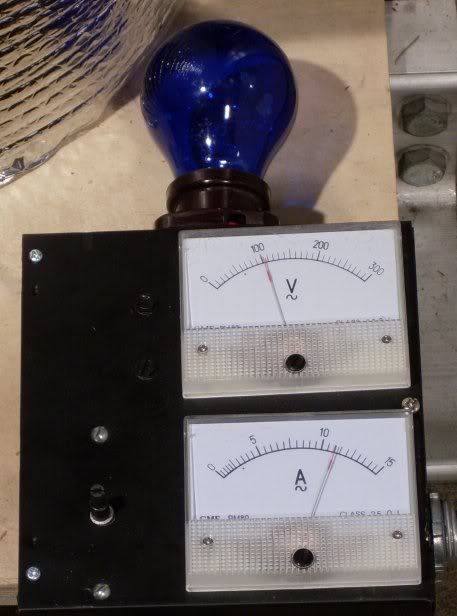
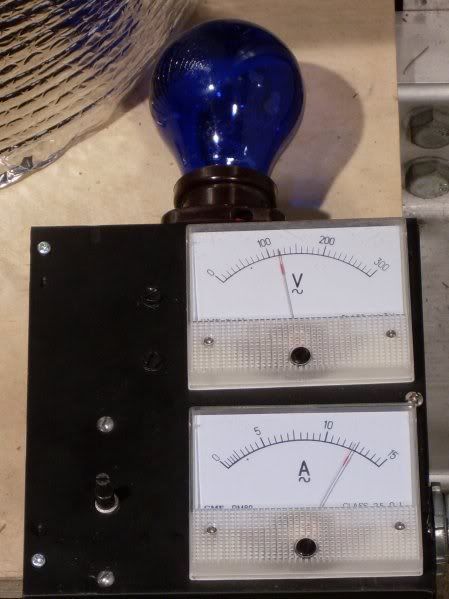
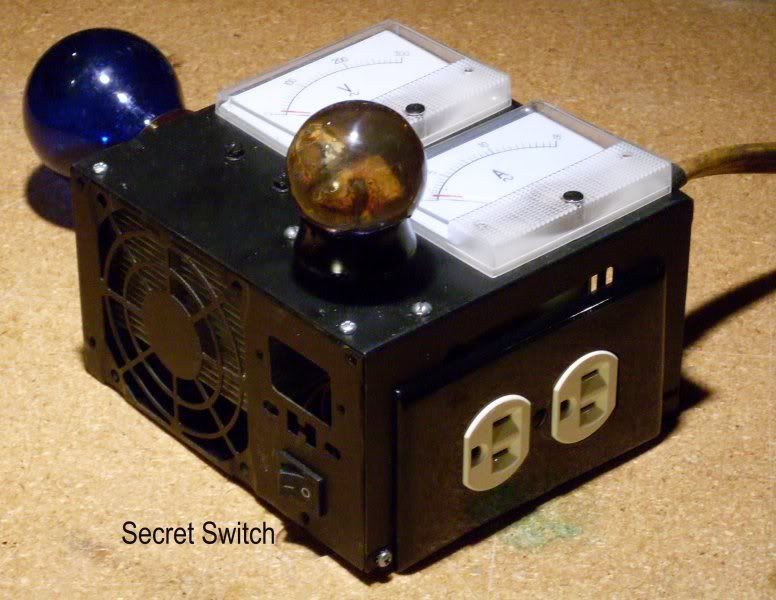
The finished unit

Anyway! There are much better ways to build this thing and I've been scrounging through my junk box to find what I need for an enclosure and heat sink. I'll let you guys know with a better step buy step when I put the new one together.
Later,
Tony T
This topic has some schematics, builds, theory, and parts lists of different triac based controllers that different users have done. Please read and understand this topic before attempting to build a controller covered in this topic, or any electric topic for that matter. I cannot be over emphasized the importance of saftey when attempting to build. If you do not understand something, please ask. Or get someone qualified to do the build for you. Serious injury or death can result from improper assembly of electronic controllers.
Original Topic: http://homedistiller.org/forum/viewtopic.php?f=2&t=3342
Here are the parts
With the dimmer in place
Inside wiring. For this to be correct the white and the yellow wires should be switched on the Triac. Also, the extra wire hanging goes to the near side of the resistor (I didn't have it connected in this picture).
An earlier view of the inside wiring
Here is a picture showing the back. The screw on the lower left knock-out is the screw holding the triac down to the bottom of the box. There are better ways to do it and I will post them as I build them.
The finished unit
Anyway! There are much better ways to build this thing and I've been scrounging through my junk box to find what I need for an enclosure and heat sink. I'll let you guys know with a better step buy step when I put the new one together.
Later,
Tony T