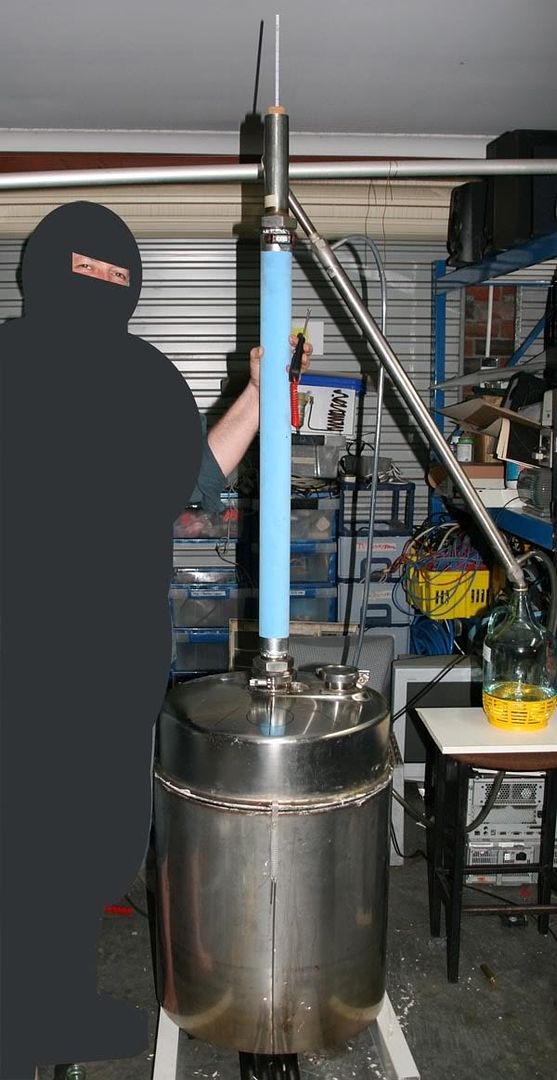
Progress update on my new 100L Pot Still....
what do yas think ?
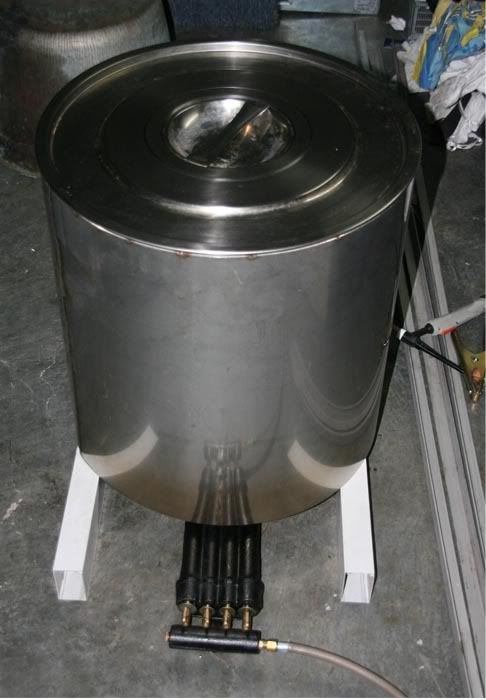
I useds a low pressure 4 ring burner from Bromic.com.au,
overall Dia 328mm.
The idea was to distribute the heat evenly over a larger surface are to eliminate
scorching.
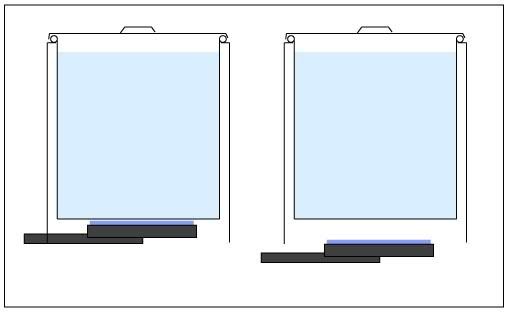
I used a 100L
BOP I fabricated an outside jacket for the
BOP to slide into snugly
with an air gap of approx 12mm or 1/2" around the pot, the outside jacket seals
around the pot with no venting at the top this will trap the rising heat and create
an oven around the pot heating the liquid from the sides like a double boiler.
I performed 2 tests on cold water starting at 17c
The first test brought 100L of water to boil in 45min on a low to med flame
with the Pot sitting on the burner, approx 20mm gap between pot and burner jet.
The second test I increased the distance between the burner jet and bottom of
pot to approx 70mm.
I started on the low to med flame I took approx 2hrs to bring the water to boil me
then reduce the flame to a point where the burners just stayed lit the water
continued to boil without any problems even with the lid off.
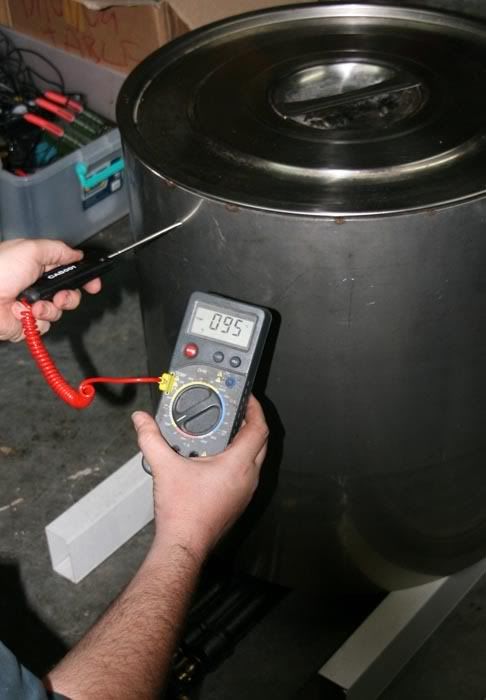
With only 1 large burner ring running on low the temp at the top is 95c.
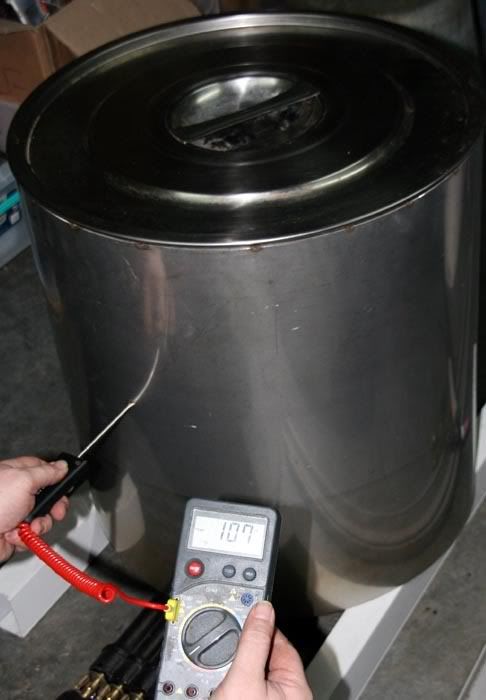
2/3 of the way down the temp is reading 107c.
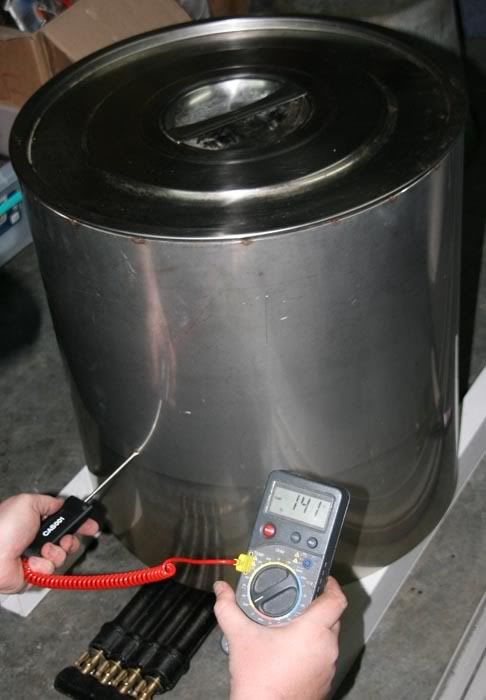
Just under halfway the temp reads 141c.
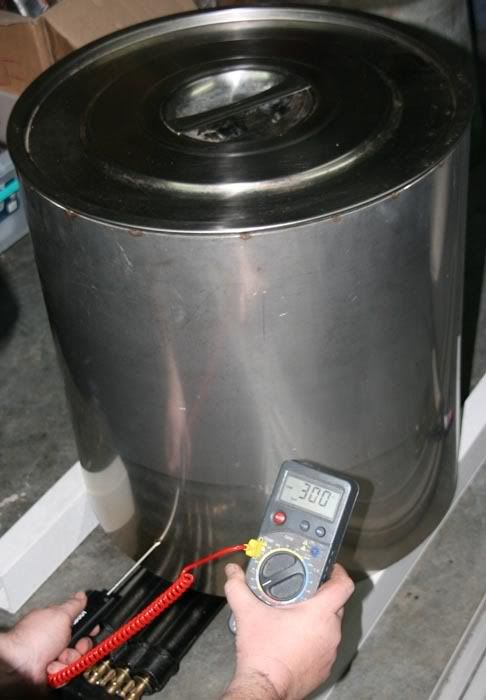
And around the base of the inner pot the temp is at 300c.
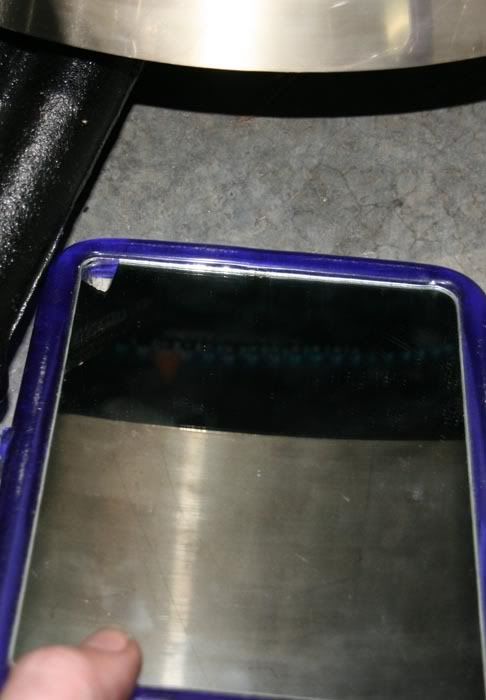
I have only the outside large burner running and it’s turned right down to a point that it’s
almost turns off, "flame is upside down", you can just see the burner flame this is
more then sufficient to simmer the pot once it reaches boil.
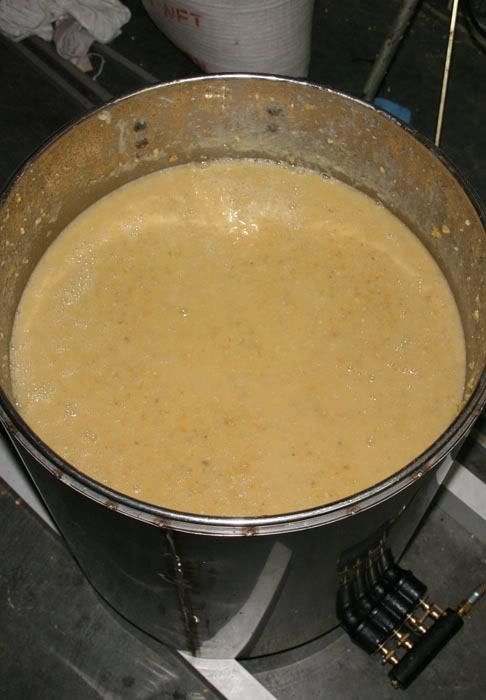
Anyway I thought id continue with throwing in some corn and do a 100L mash
I simmered the corn for approx 3hrs using next to no gas, there where no signs of
scorching corn on the bottom of the pot.
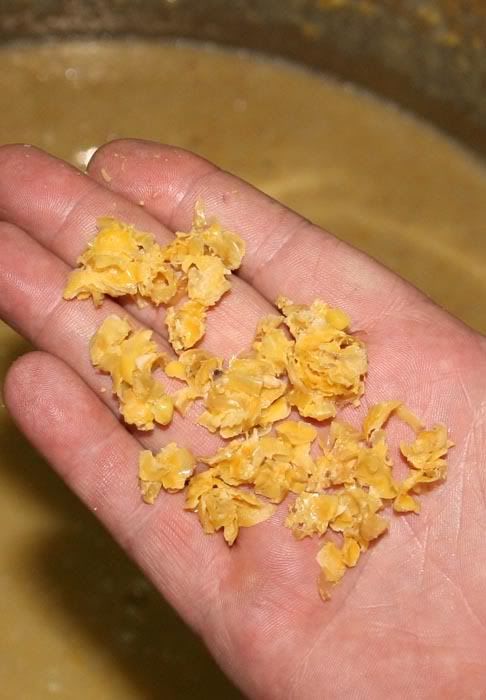
I was waiting for the temp to drop so I can add the malted barley but the double
wall was now acting like an insulator and it dropped only 1 deg C in an hour
getting past midnight so I though ill pack it up and reheat it in the morning and drop
the malted barley, closed the lid and thru on a couple of thick blankets and went
to bed.
Got up 7hrs latter opened the lid and it was still at 88 deg C the corn starch had almost
completely dissolved and liquefied I had a fan blowing into the mash and also added cold
water to bring it down to 66 C to drop the malted barley.
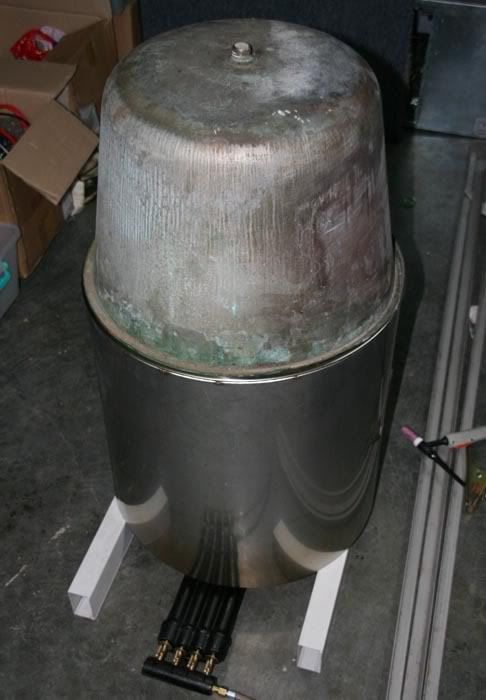
When I finish doing my wash I put this copper lid on the pot and it becomes a 100L pot still.
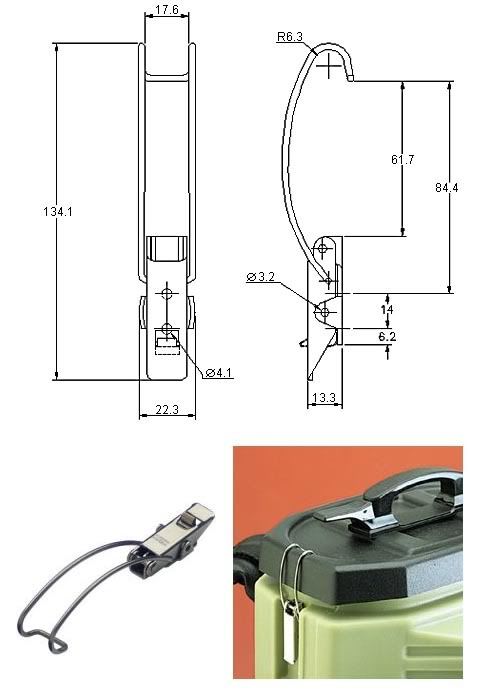
These are the clasps I am using to hold down the copper lid.
http://www.protex.com/
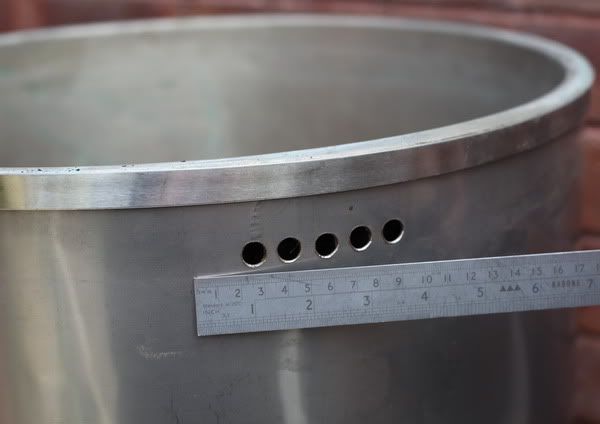
I am going to drill 6x 6mm or 1/4" holes evenly space around the top of the
outside jacket to let some hot air escape in an attempt to lower the temp at the
base of the pot and I believe this will also raise the temp around the top of the pot.
To me this test shows there is no need to use double boilers to prevent scorching.
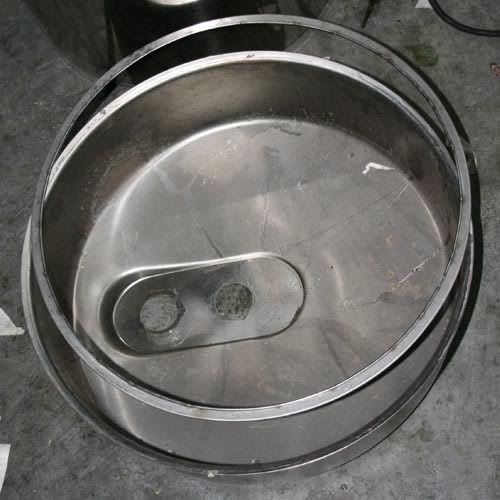
I picked up a SS swimingpool filter lid today, perfect size, so i can
seal the lid to the pot i tacked a flat ring to the inside of the lid with
a 4mm roundbar around the inside and outside of the ring.
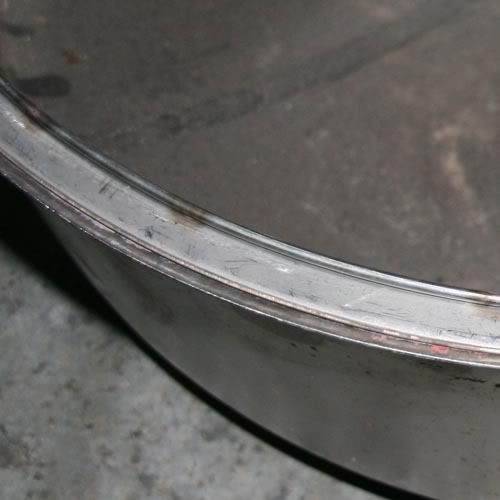
i didnt take a pic of outside roundbar ring in place, but the idea is
that i pour soft silicone RTV rubber in the gap for a fixed oring seal
i will take another pic later when I pour the silicone and its finnished.
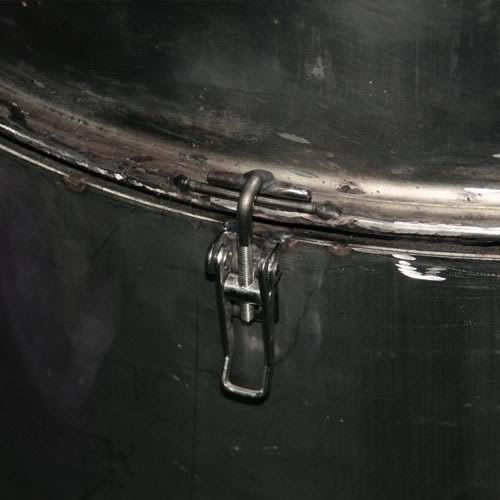
I tig'd the lot aroune the outside rim of the lid so it forms a seal.
i finaly got the togles i orderd but the idiots sent the wrong ones..

so i moded these and i will replace em when the ones i wanted come.
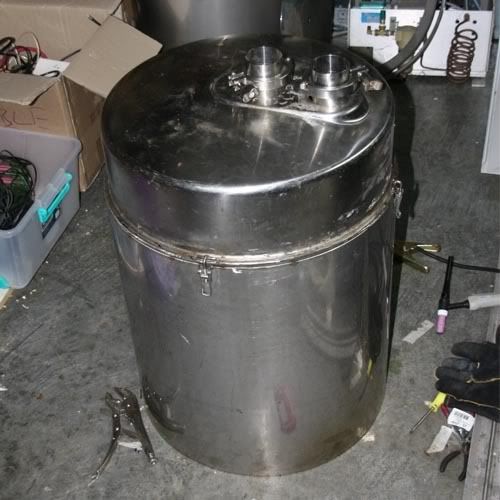
the hole on the left is not on centre so i have to fill it and drill another but
i will be welding these two 2.5" or 75mm dia triclova ferules to the top.
the centre hole will be used for the stiring motor drive and the righ one
will be for vapor output.
on the left "not pictured" i have a 5" dairy ferule that will go there, they
have a big nut instead of the butterfly clamps on the triclova, that will
be my fill lid so i dont have to crack the lid, i will be placing a 2" drain
tube at the bottom of the pot.
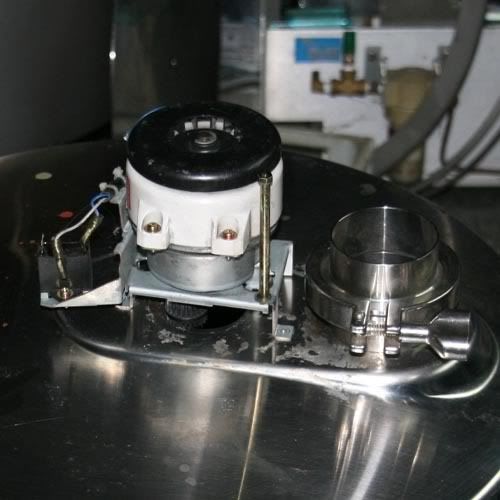
This is the geard motor i picked up, 5 RPM, still working on how i will
mount it exactly, it will be used to drive a bottom stiring arm, but this
is what i have in mind..
I will drill a hole through a triclova endcap for the drive shaft and weld
mounting brackets for the motor.
I first need to find a suitable seal for the shaft before i start.
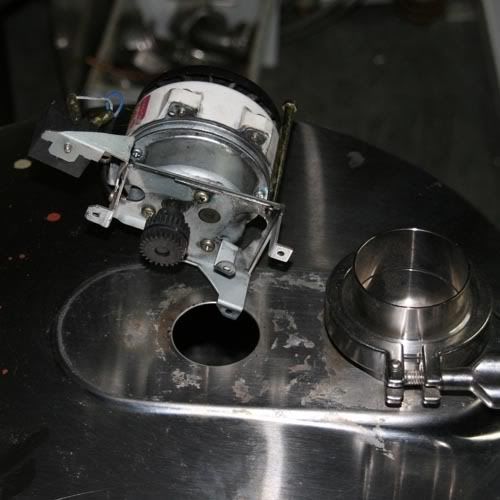
this is a view of the motor from the bottom that will drive
the stiring arm.
all of the parts for the stiring arm will be made from copper
the idea is the copper wont damage the SS because its softer.
it will be centred into a bush inside the drain pipe and extend to
the top of the pot.
the shaft will be copper with a female square bush at the top to mate
with the drive shaft, the drive shaft will also be square and be able
to slide 12" inside the stiring arm shaft bush.
the idea is to use the same motor for distilling and mashing.
when mashing i have a round disc i will use as a lid that i can
clamp into place with the togles, and i will cut a flap into it
so i can open it like a lid. the motor will mount on top of the lid
in the same way using a triclova clamp.
i have worked out a way to crate a seal for the stirer by using a tube
over the shaft submerged in the wash and welded to the triclover endcap
i will post a picture when i get around to maing that part..
