Re: My First Still Build (Stock Pot)
Posted: Mon Jan 13, 2014 8:38 pm
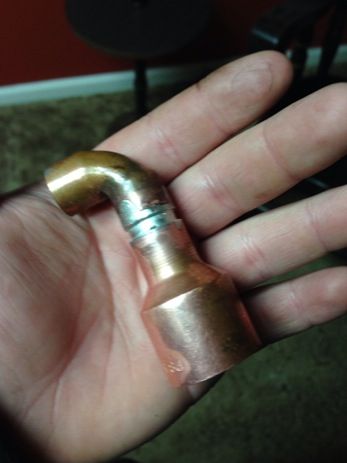
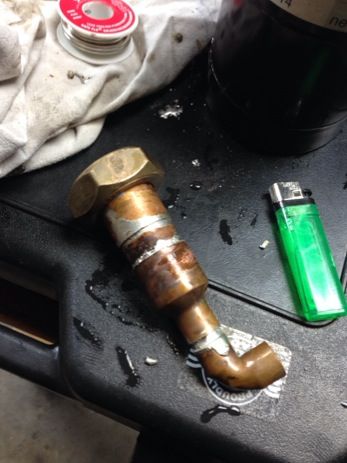
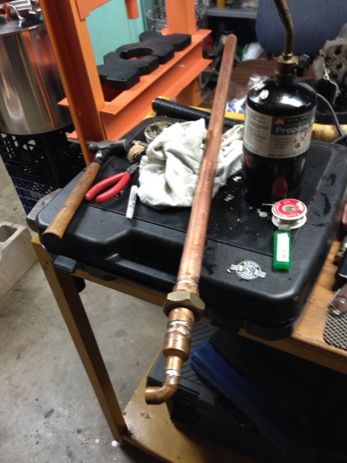
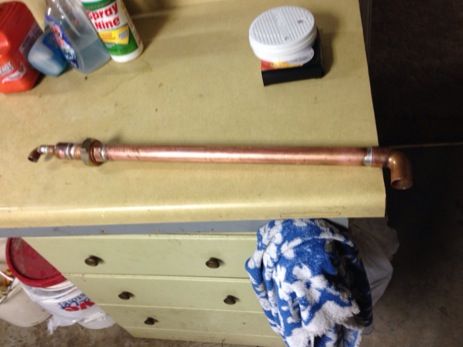
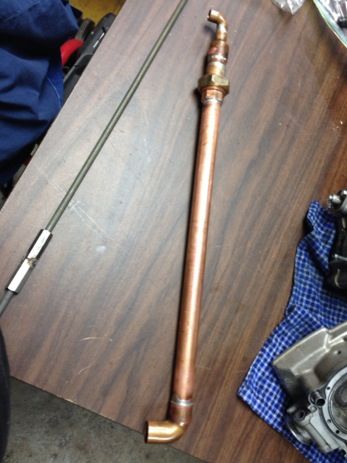
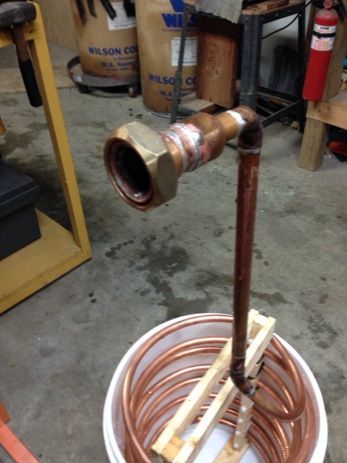
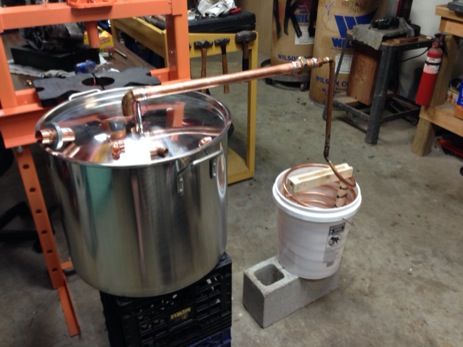
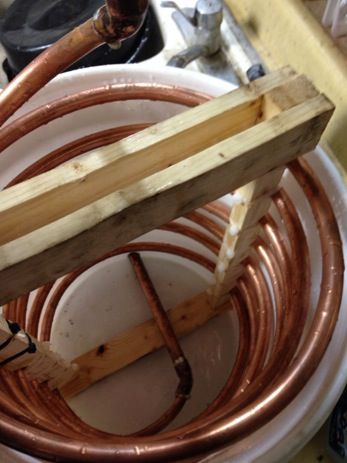
Progress. Please no bashing on my soldering. It's my first time. Lol


The Largest Online Resource for Distillers
https://homedistiller.org/forum/
I'm putting a bowl on the lid first. But same concept when your using just the lid. I'm taking a male and female adapter and putting the male end through the washers for spacers. Then I'll put the female on the bottom of the lid and clamp the adapters together. I know a terrible explanation. I will post pics laterBDF wrote:How, may I ask, are you planning to mate your copper pipe to the lid of the stock pot?
Something like this?Ky_backwoods wrote:I'm putting a bowl on the lid first. But same concept when your using just the lid. I'm taking a male and female adapter and putting the male end through the washers for spacers. Then I'll put the female on the bottom of the lid and clamp the adapters together. I know a terrible explanation. I will post pics laterBDF wrote:How, may I ask, are you planning to mate your copper pipe to the lid of the stock pot?

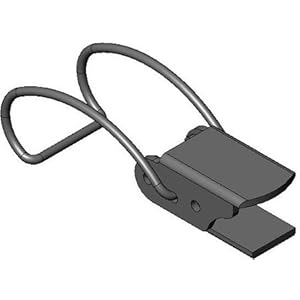
Hi nice outfit. Where did you buy those clampes. Im getting the stuff togeather for my first buids.DFitz wrote:When I first built my stock pot still I added a stainless bowel to the top. A 3"x12" pipe for the column to attach a lyne arm and product condensor. While your condenser is the worm line, the bowl attached will work well. I attached the bowl drilling holes about 1" apart then connecting the two with machine type screw fasteners. The gasket was made using cardboard wrapped with Teflon tape. For immediate use I opted for the pinch type clamps but later bought these for a more permanent use.
The column was attached to the bowel using a stainless exhaust collector and gasket. this was brazed to the column tube and fastened to the bowel with mechanical fasteners using the collector gaskets to seal the connection. Its worked well for me over the past couple years thus far. I also added a 2" nipple and ball valve at the bottom of the stock pot to make this a double duty pot for cooking and stilling.
hope this helps
Here is the thread: http://homedistiller.org/forum/viewtopi ... =2&t=39820.humbledore wrote:If you ever sweated copper it is not that hard to solder stainless. I saw a thread (sorry can't find it) where a guy used a copper end cap, maybe 1.5" or whatever his column width was. He made a ring of solder, of course used the right flux, and sat the copper cap down on it, right on top of the lid with the cup side up. Then he heated the lid and the fitting until the solder melted and it dropped down. Once it cooled he drilled a large hole through the copper fitting and lid. Sorry if that sounds confusing, it was pretty simple actually. No gasket, no rivets/bolts. The desired solder/flux is Harris StayBrite #8 and Harris StayClean flux, but I have done it with Oaklely flux and silver solder also, purchased at Menards.
Edit: this thread has some pictures of something similar to what I'm saying...this guy first tried to use bolts then went with solder:
http://homedistiller.org/forum/viewtopi ... 15&t=18056
