
As a result, some of my finished products are not necessarily perfectly square or level. Also since I use tri-clamp connectors for everything, getting exactly the right length for a given product is a challenge.
My latest project is a sight level for my electric keg boiler, so I can prevent the liquid level from getting too low and causing the 5500W element from burning out.
To that end, I bought a 300mm (about 12") sightglass from aliexpress. Naturally the sightglass is just that much off to allow a fit using standard length spools.
I happened to have some tri-clamp ferrules that can be silver-soldered to 1/2" copper pipe, and I also had some 1/2" CSST. After some careful checking, I determined that the CSST would just fit inside the ferrules.
I cut the CSST to length using a stainless steel tubing cutter, used some 400 grit sandpaper to rough up the CSST and the inside of the ferrules, cleaned it all up with some acetone, and was ready to silver solder.
I wrapped some 1/16" silver solder around several of the CCST valleys, shoved the CSST into the ferrule, moistened the whole thing with Sta-Brite liquid flux, positioned the CSST and ferrule so that the ferrule was hanging off the end of my work bench, and applied heat to the lowest part of the ferrule until the solder just started to flow. I then added a little more silver solder to the top of the ferrule and let it flow down into the interior of the ferrule. The result looks like this:
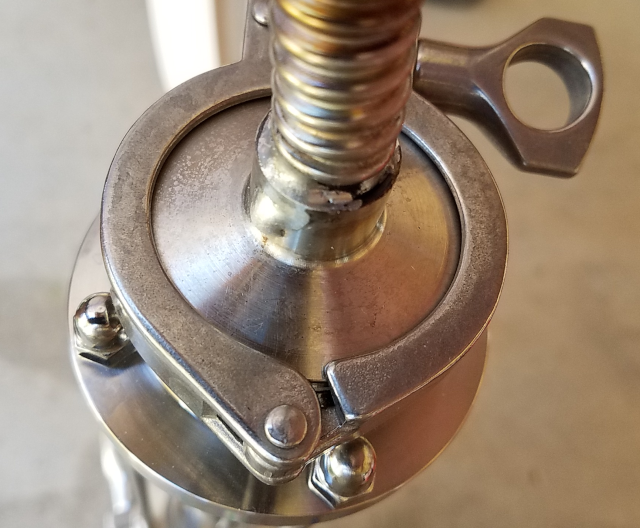
I still need to verify that the joints are liquid and gas tight, but the results look promising.
Now if things don't exactly match up, I have a little "wiggle-room" to get things mated up.