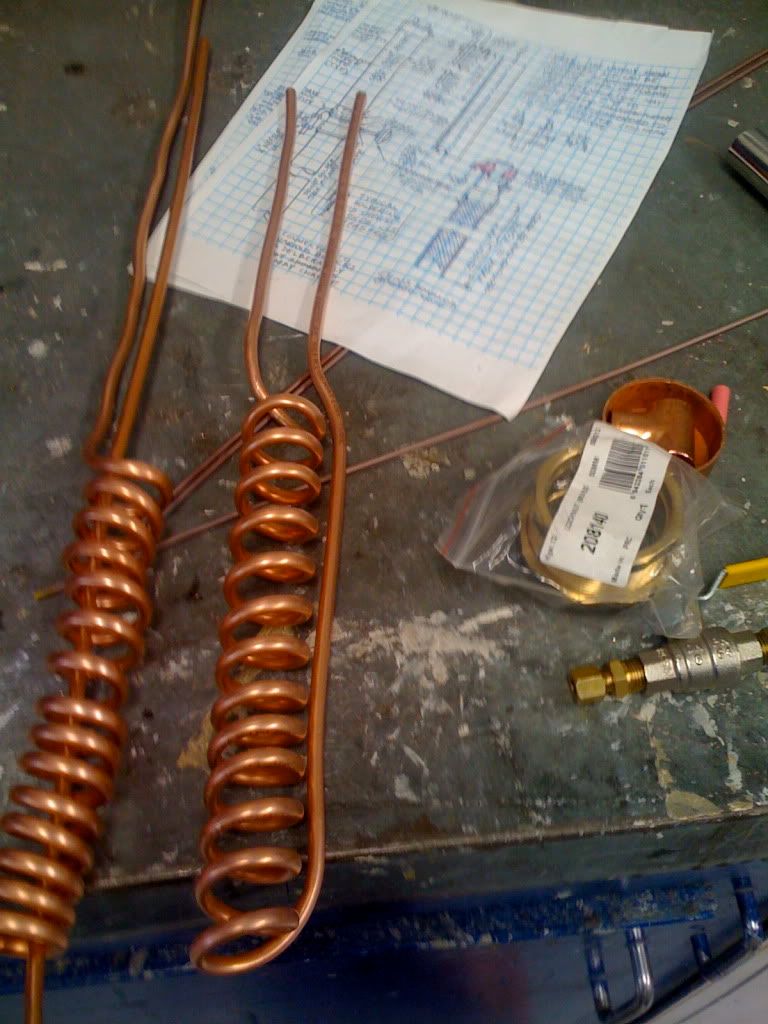
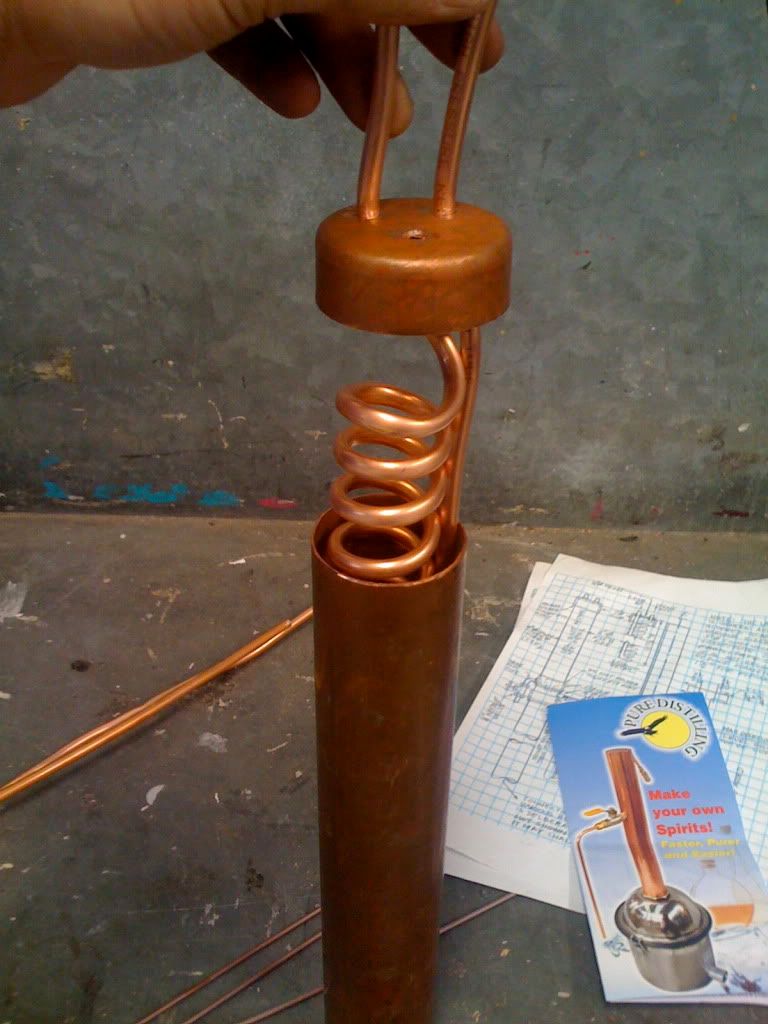
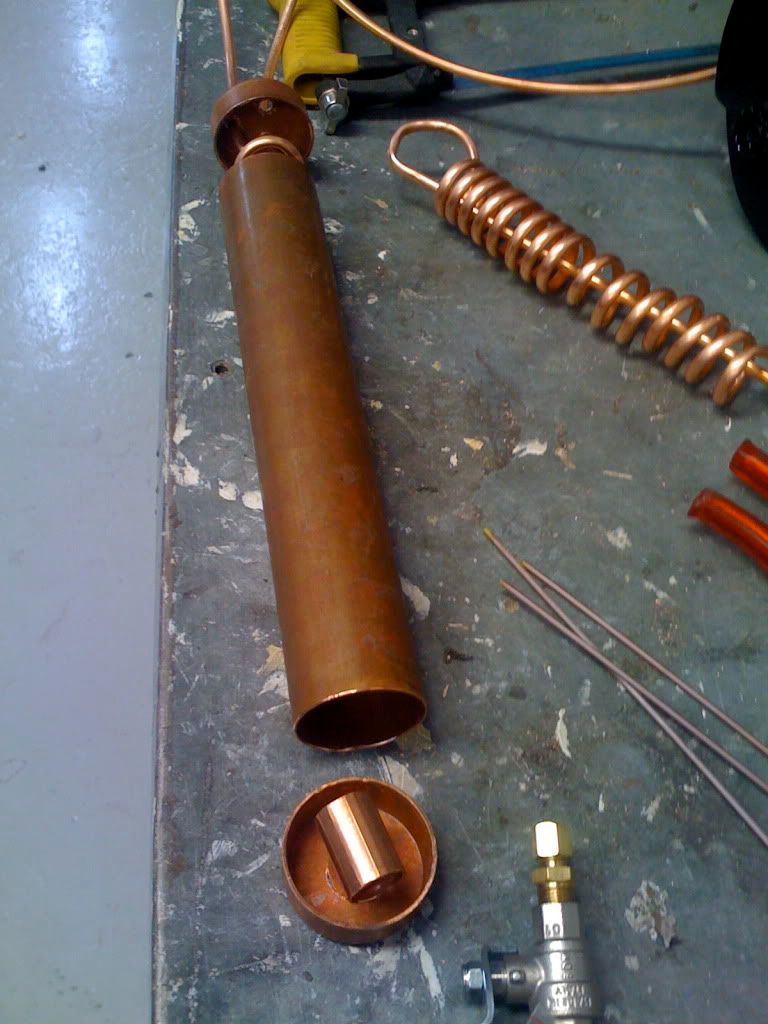
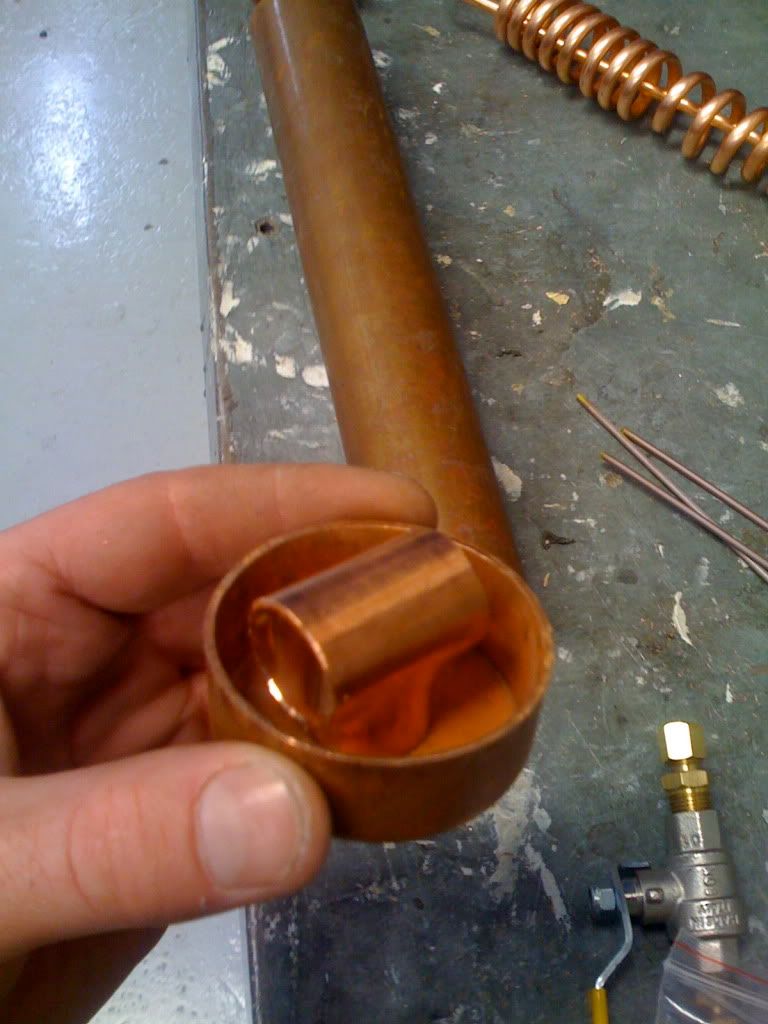
Pictures tell most of the info...
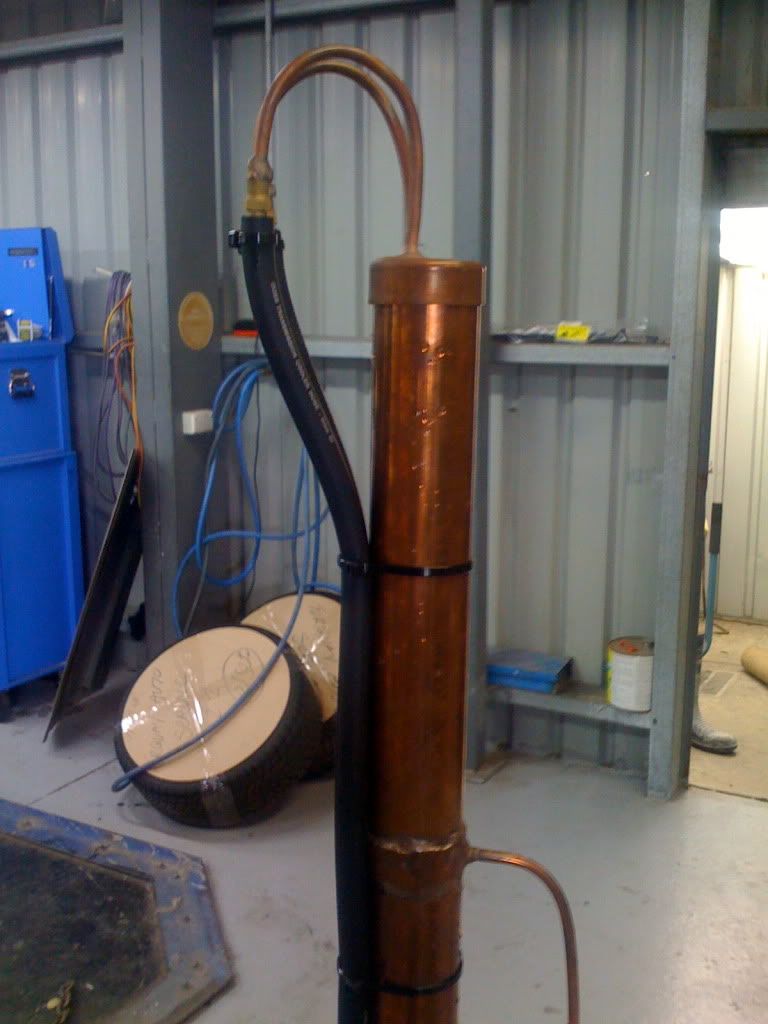
Building the coil.... I think if i did it again id wind a lot more coils....
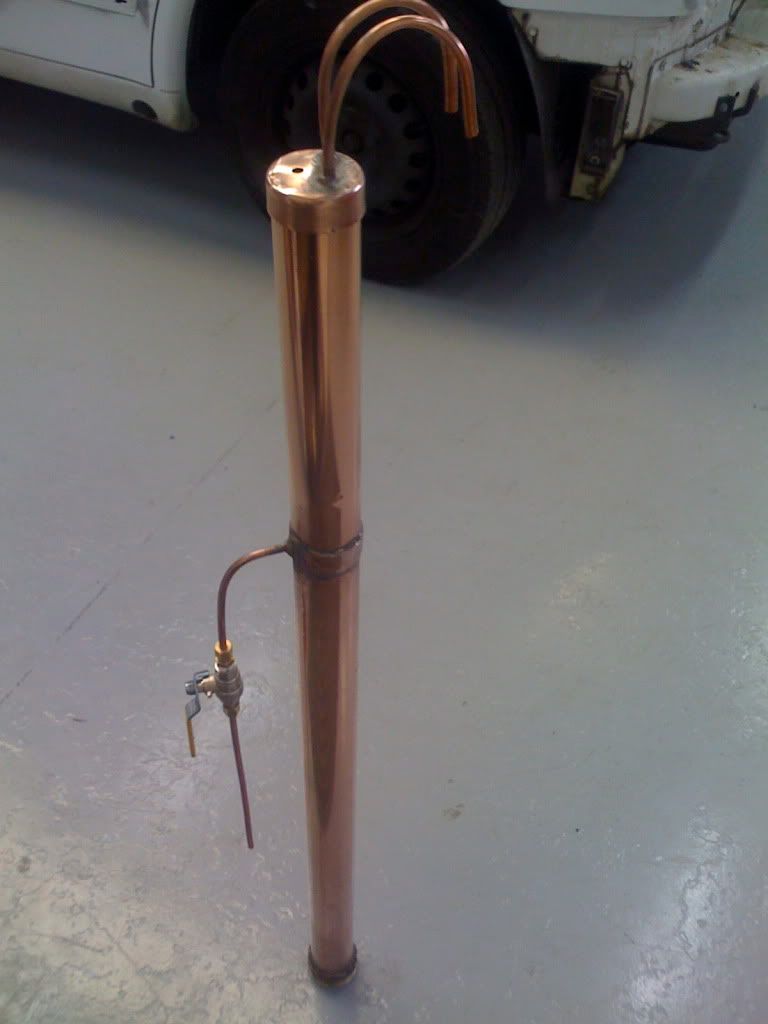
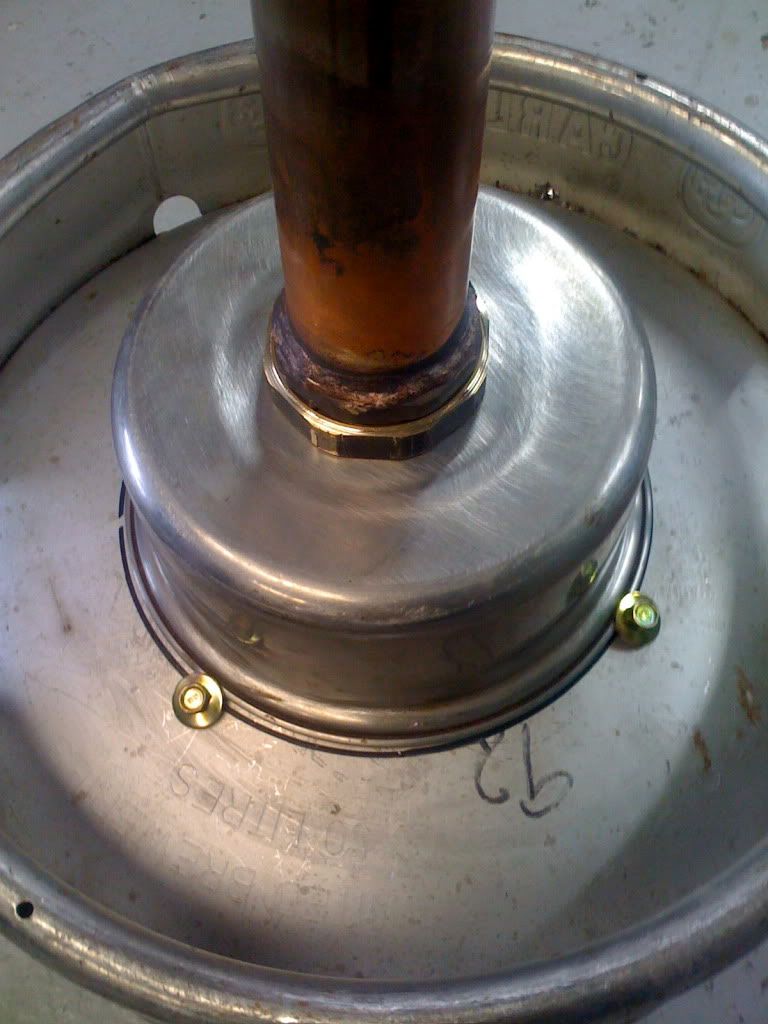
With end cap inside 12" tube....
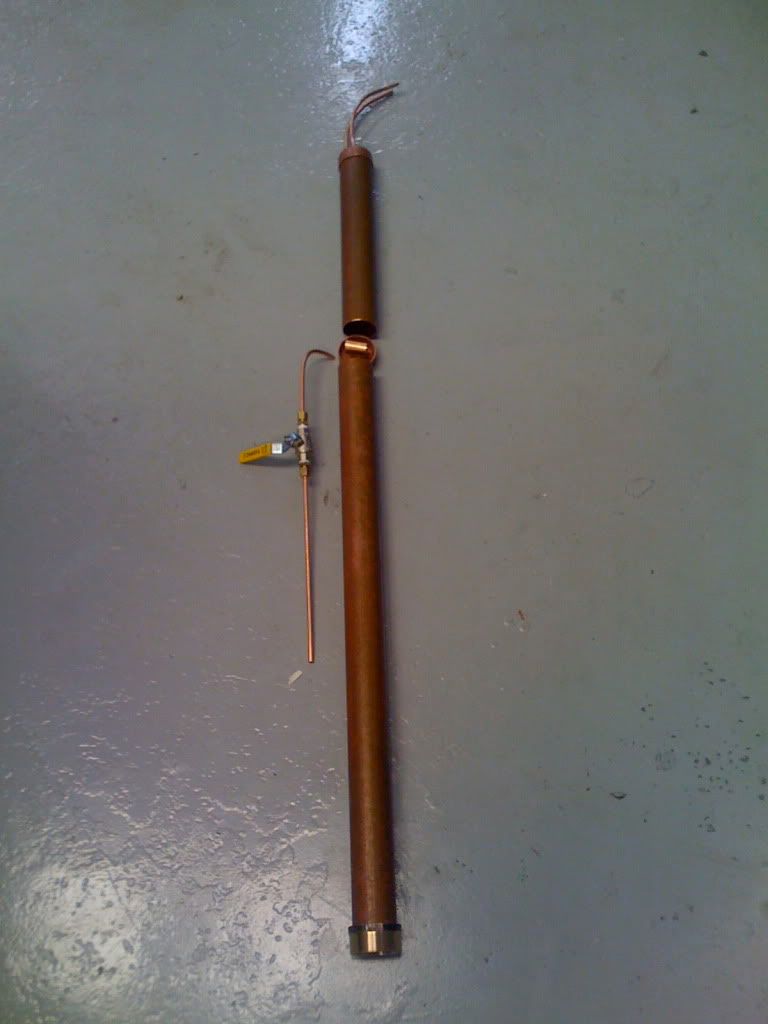
At the bottom of the 12" tube is the T section in another end cap....The other coil in the shot is just one i wasnt happy with...
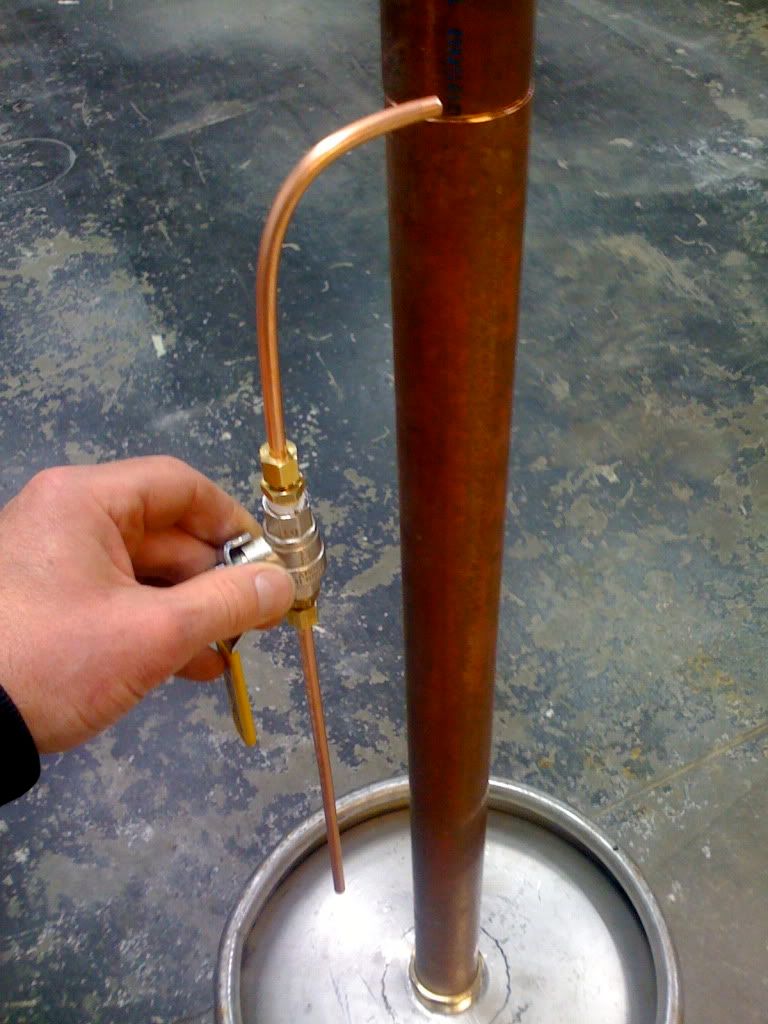
Overflow and take off tap.....
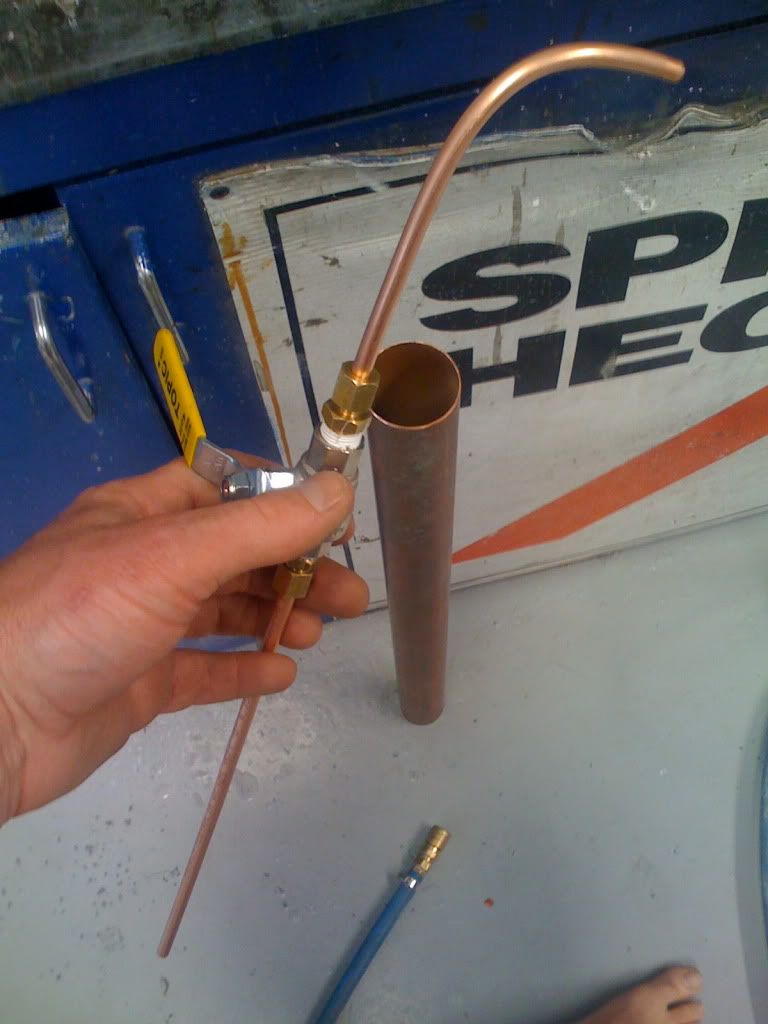
Lower section and take off lay out....
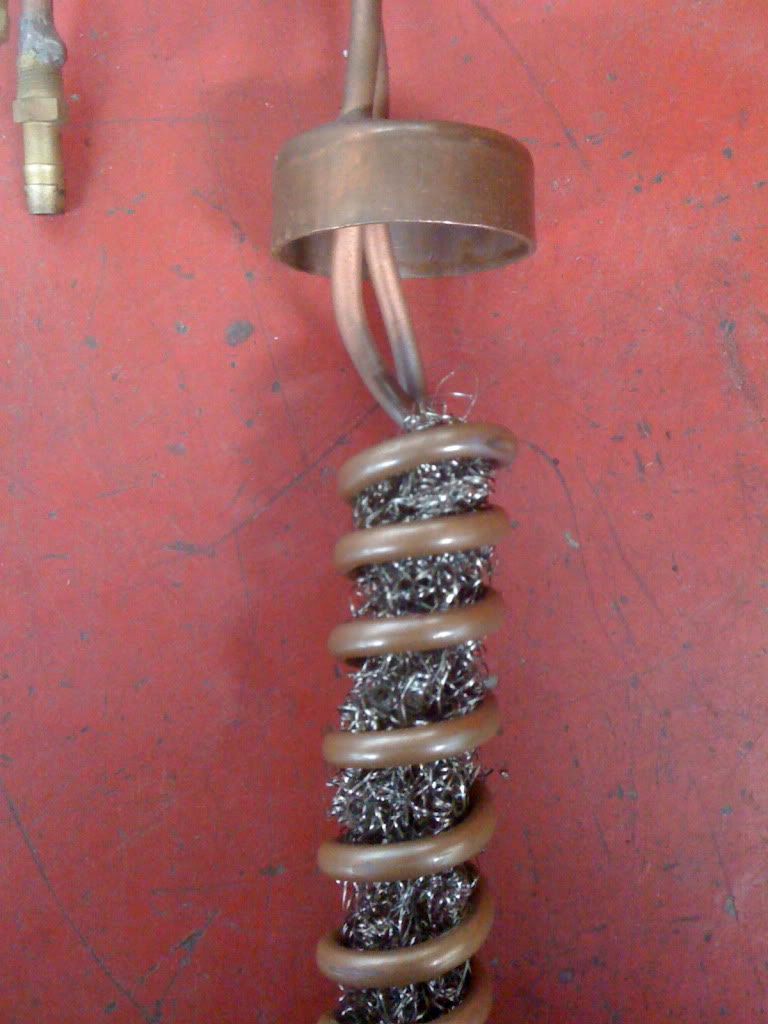
After a couple of runs i thought this pot scrubber inside the condenser made quite a difference. Probably because i didnt really have enough coils in the condenser maybe?
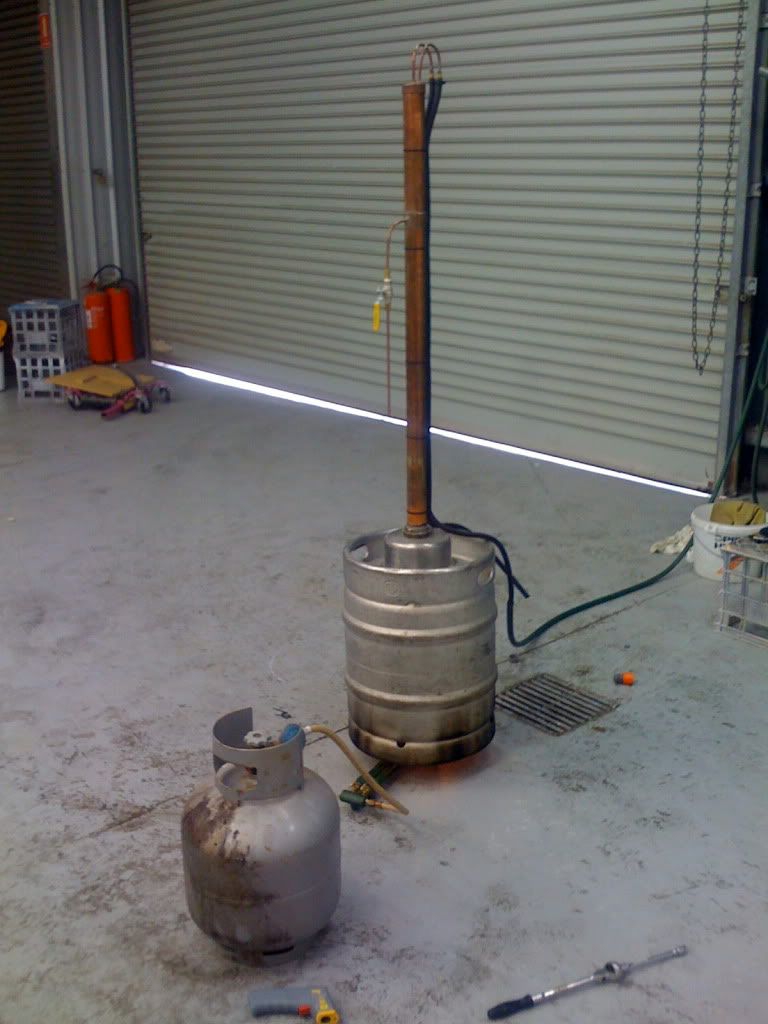
This is by no means the greatest build around but it produces 93% no problem.. I just thought some build photos could help some crew out....
Also i run a temp gauge just below the T section which i have no photo's of....
Cheers all.....