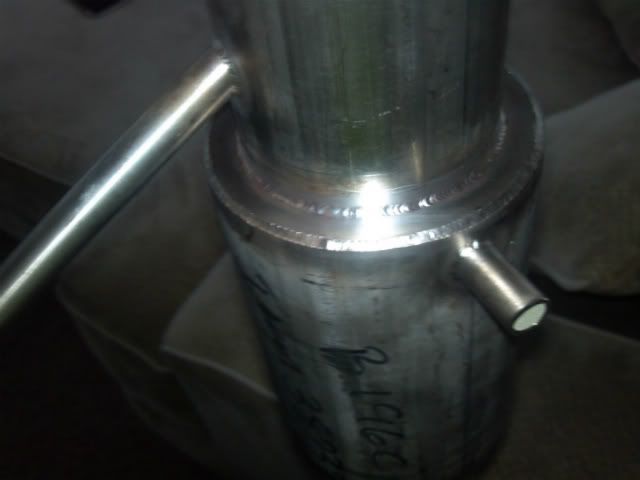
heres a picture of the milk can top before welding to the keg
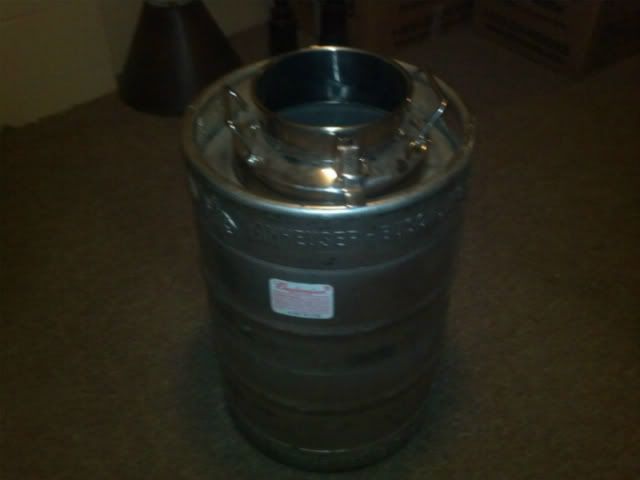
Before welding, had to cut off the top ring of the keg to get a good weld around the milk can top, notice we are using mile highs milk can domed top to 3" tri clamp, also, yes it looks terrible right now where i cut off the top ring of the keg, just zipped it off with the plasma cutter, it will be smooth and mirror like when done
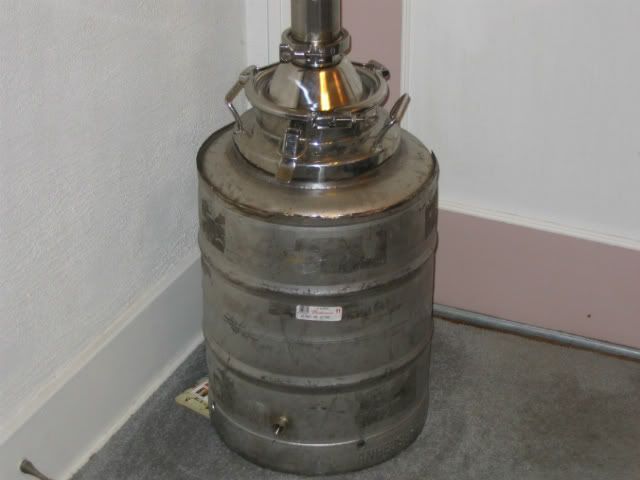
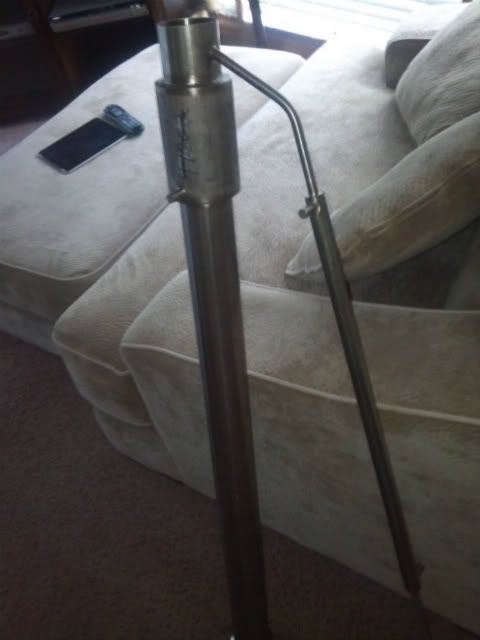
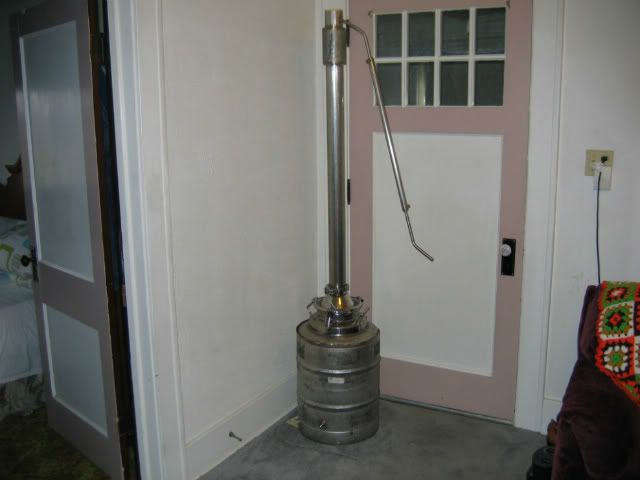
The tower is 3"x .072" 304 ss tube and is 48" tall, it has a 6" x 4" od reflux condenser
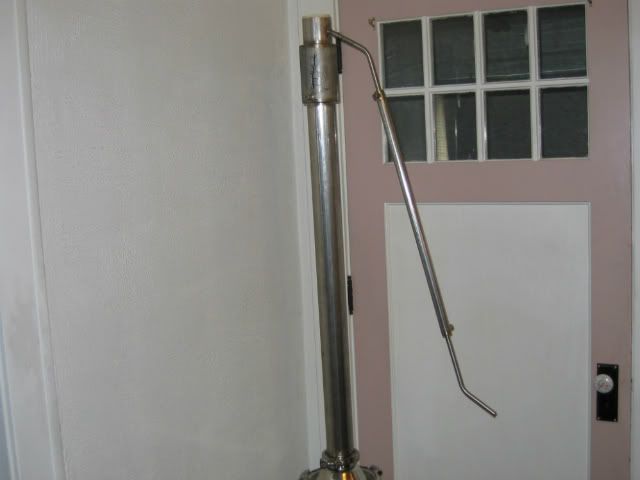
Here are a few more photos, we will be adding another 3" tri clamp ferrule to the top so we can use a 3" tri clamp cap with fitting for temp probe instead of using a rubber bung.
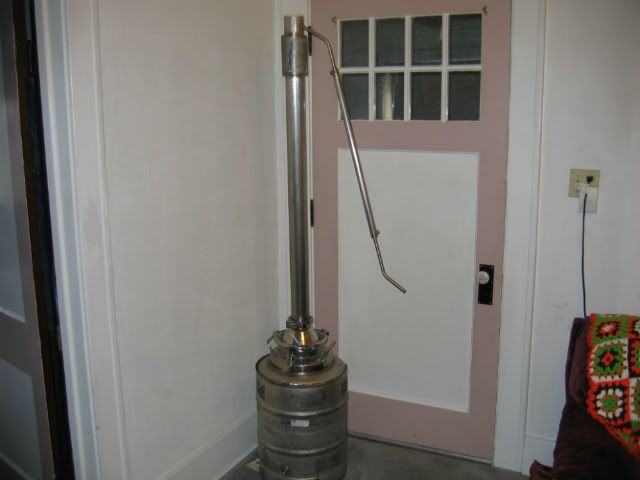

Also i have added a 1/2" npt coupler to the bottom of the keg to add a 1/2" ball valve to drain the keg
Now instead of using an electric stove or the almighty dangerous fish cooker propane burner, we are going electric, i first used electric on my brothers beer brewing operation so it was easy to design this electric setup for the still. We will be using a 5500 watt low density 240 volt water heater heating element, the low density element means it has 50w or less of heating per square inch of heating element, which will delete the danger of scorching or localized boiling on the element surface. The downfall of these elements is that they are wavy, being wavy it means that to be able to screw them in you would need to weld the threaded fitting really far off of the bottom of the keg, so i came up with a solution, by welding on a 1-1/2" tri clamp butt weld ferrule to the keg and then to tri clamp butt weld ferrule and then the 1" nps threaded fitting welded to that, so you can screw in the element into the threaded fitting and then just stick it in and install the tri clamp, this will allow installing the element as low as possible in the keg.
they look like this
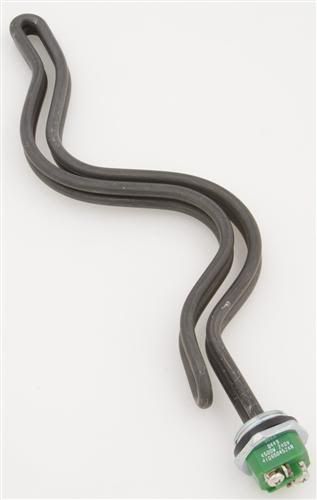
We will be controlling the electric element with an auber pid controller and auber stainless temp probe, the pid controller will eliminate temp fluctuations and temp overshoots, the controller itself has a processor that figure when to shut off the element before it reaches temp so it will not overshoot, and are accurate within .1 degree and will hold that temp, so i figure with us being able to hold a temp then we have won half the battle, the other is controlling flow rates for the reflux condensor but that will be trial and error. So this week we will be adding fittings for the element and temp probe in the keg and also the tri clamp ferrule on the top of the tower and the temp probe fitting in the tri clamp cap for the other temp probe. I will be updating this thread with more pictures and more info as the build progress's, and i also forgot, the entire works will be mirror polished. Let me know what you think, are there anybody else out there distilling electric?