After reading here for months, buying 4 different distilling books, and spending God only knows how many late nights dreaming, I built my own fully functional pot still.
Here are the specifics:
7.75 Gallon beer keg boiler
Turkey cooker for heat
20 Inch length of 3 inch copper for the still head
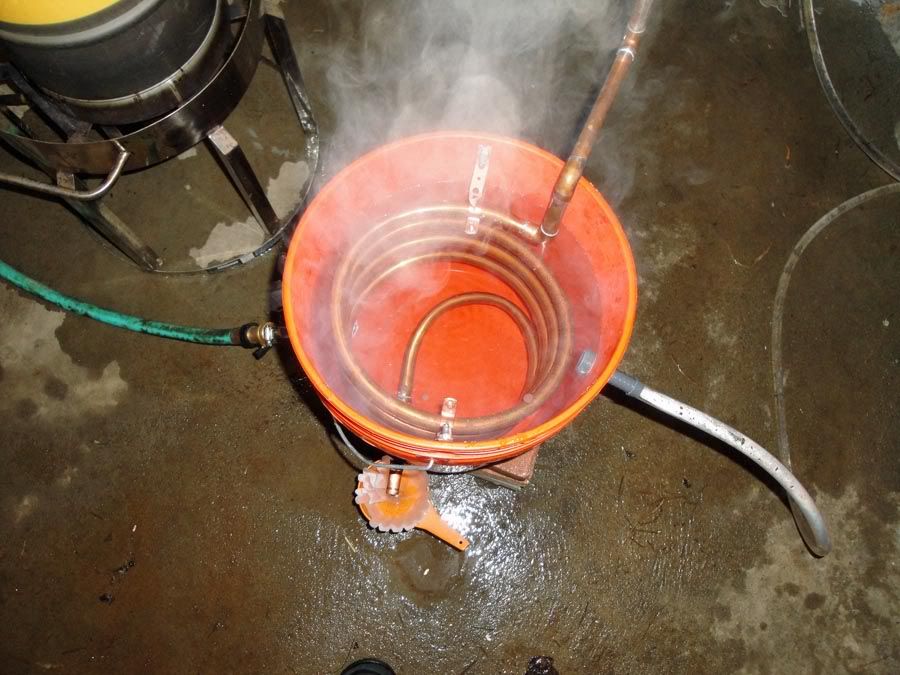
10 Feet of 1/2" copper wound into a coil and fitted into a 5 gallon bucket as a condenser
All solder joints were made with lead free solder. The 3" tri clamp ring was joined to the still head with silver solder.
Gaskets in the 2" to 3" adapter are teflon
I now have several very successful runs under my belt and I have learned a little bit. Most importantly:
1. READ, READ, READ. Every question I have ever come up with has been answered in these forums multiple times. How did we ever survive without the internet?
2. Take your time, slow and steady beats rushing every time. This goes for still construction, mashing, distilling etc......
3. Start simple! My first idea for a still was a four plate column with a dephlegmator, I quickly realized I didn't even understand what went on in a still. So I got down to basics. I couldn't be happier with what I ended up with.
4. Hydrometers are very fragile and will break at the worst of times. Treat them with care and always have a spare on hand!
With that having been said, on to the copper porn!
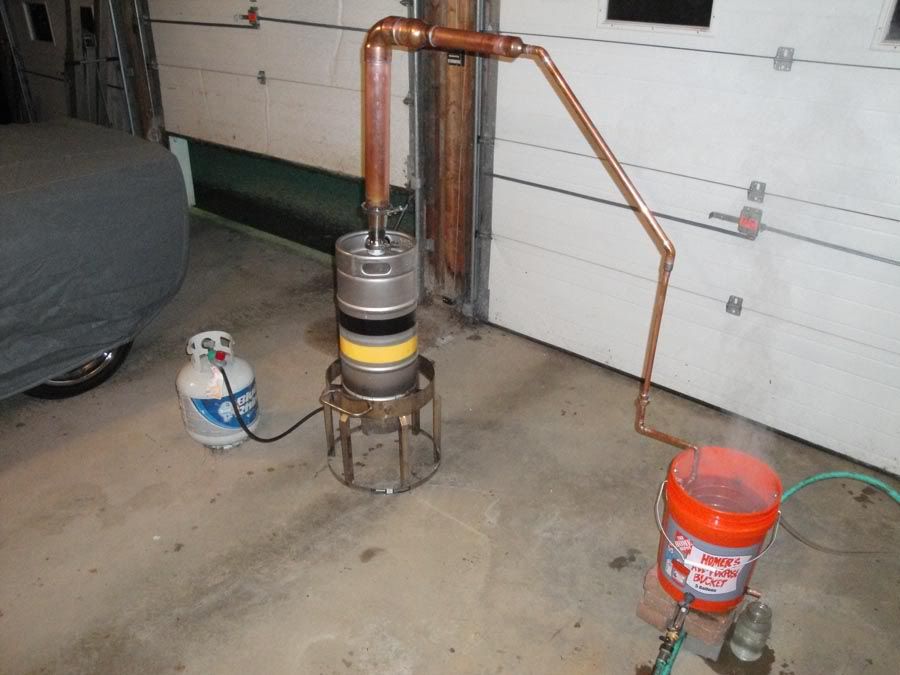
My still in its first iteration. I have since changed the output drastically. Although I have to say it worked VERY well this way. But it just looked awkward and was difficult to set up. This picture was taken on the very first vinegar/water cleaning run hence the cloudy distillate in the jar.
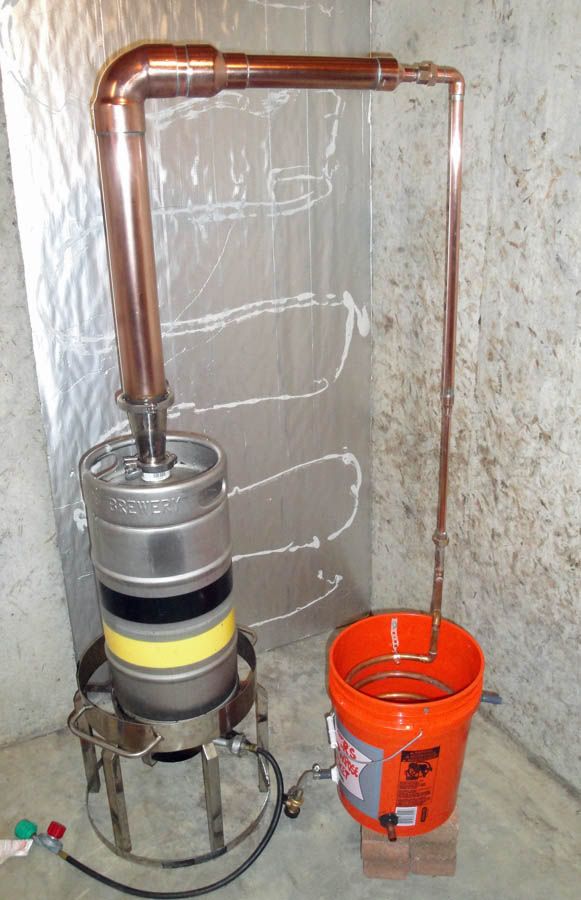
The way she currently sits. Note that she is polished as well! I know the worm bucket is pretty unsightly but dang does this thing work like a champ.
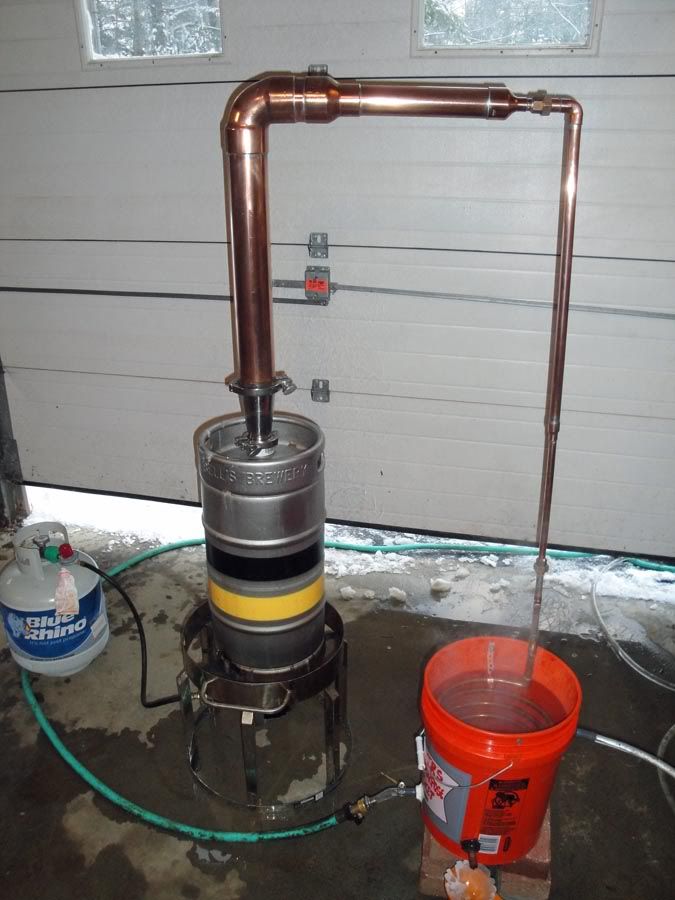
Hard at work distilling some of Rads All Bran mash. What a great recipe that is! For you sticklers out there, yes the worm output is through a coffee filter, it probably isn't needed, but I really don't care, I'm doing it regardless. And yes, the filter is sitting in a plastic funnel. But the funnel is PETE #1 so I feel safe with it.
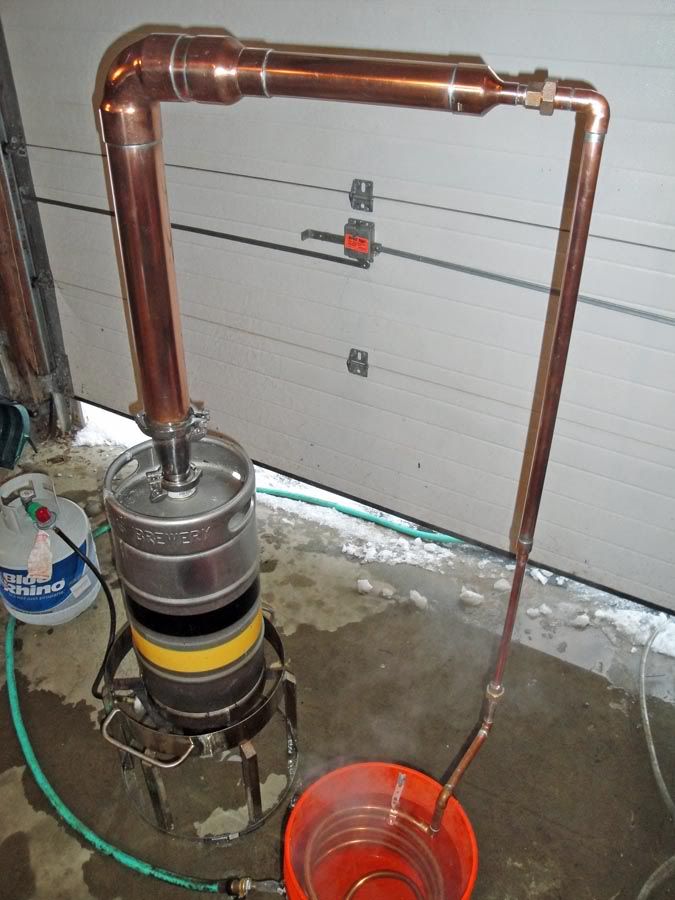
Another angle showing off that pretty copper!
Close up of the worm bucket. For the few dollars I have invested it sure does work well.
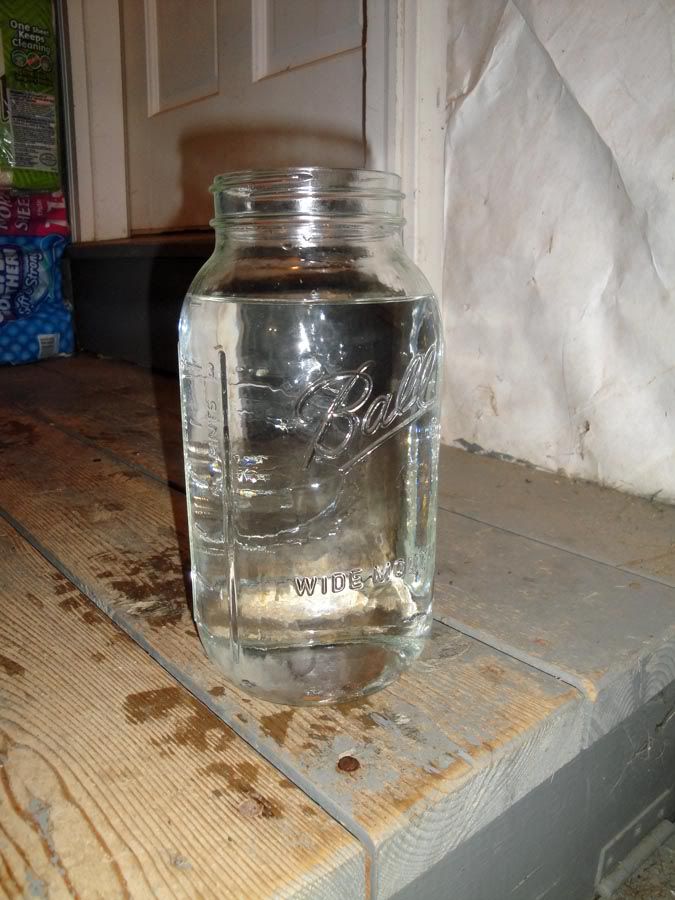
A big jar of distillate from Rads All Bran recipe. Good stuff!
My still routinely pulls 140 proof on stripping runs which I think is pretty good for a pot still. I would guess if I packed the column with scrubbers I could see a significant increase in purity on the stripping runs. I don't mind running my product through a second time however, sometimes even a third! This thing rocks. I am very happy with it! Thanks to everyone who make this such a great forum, without all the contributors here I never would have made it this far.