All right, all right, all right! Who's ready for the next installment?! This evening, we will be covering the approach we took for making the thumper flange. Why a flange, you ask? Two reasons. 1) The thumper diffuser we built will make it a neccessity to access the inside of the thumper. 2) GreasyDog made a great build, but unlike him, we won't be able to just clean out the inside, with a long handled brush. Again, see reason #1. This was, by far, the one aspect of the build, which had me the most nervous. Its one thing, to just bend down the edges of a round. Its another, when the material you are bending is spreading out, risking a possible split. Good thing we have extra material, and this eased some of my anxiety. Onto the pics, and some "How we did its".
The first thing we did, was to make a form, for the ring we are turning into a flange. After we had the body for the thumper riveted and soldered, we took our flange strip, lined the circumference of the thumper, and clamped the strip. Then, the ends were soldered together. Here is the beginning of the form.
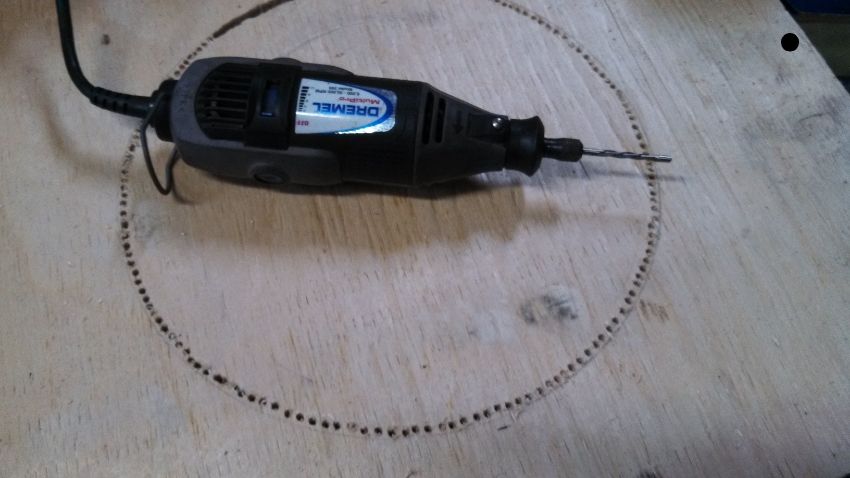
In this photo, we have a preliminary fit of the thumper flange. After the hole was cut out, it was gradually opened with a sanding drum for the Dremel, till it just barely fit. The 1/2" plywood is screwed onto a pair of 2x6's. The masonite round, was cut the same way as the hole, and belt sanded till I could just get it into the hole. The masonite is 1/8" thick. I needed to use it as a riser, since the flange is 3/4" thick.

Here we have the finishing of the form. A 3/8" round, cut down and sanded, to be able to fit tightly inside the flange. Why all this trouble, you ask? Well, the bottom half of the flange has to remain vertical. Without the inner round, the bottom will want to rise, towards the center as the top half is pounded on. Essentially, twisting the ring. The inner plywood is also level with the outer plywood. Just in case you didn't catch that, from the measurements.

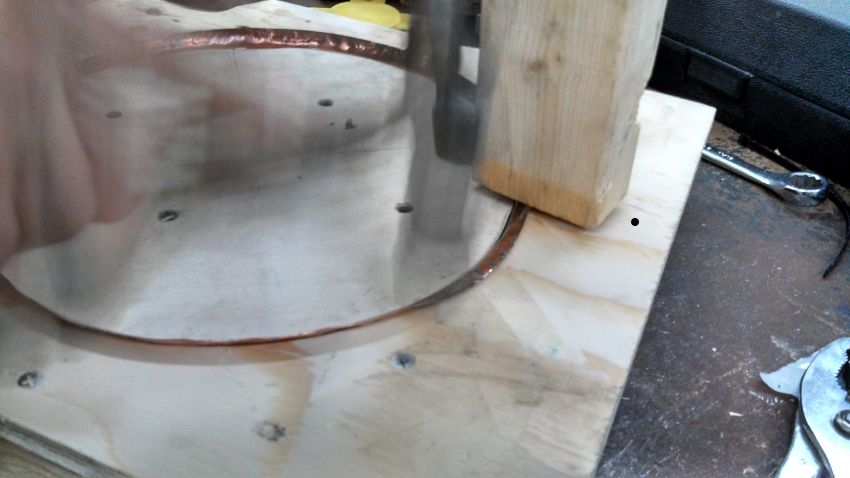
Here, we have the Mechanic putting the finishing touches on the flange. Don't be fooled. I did most of the work. I made the form, and did most of the hammering. He took over, so I could take a pic. As with the rounds, you want to only bite off a little bit, at a time. I formed it, to start, with the ball end of a ball-pean hammer. I did 3 rounds, and we took it home on the fourth round. Took it down 10deg, 30deg, 60deg, and then flat. You can switch to the flat side, of the hammer, once you get to about the 60deg point, to take it home. The stud was used to hold the flange down, while hammering. It was laid across the center, of the flange. We were fearful of the side ,opposite the side we were hammering, being prone to rising.
And now, the fruits of our, mostly my, labors!
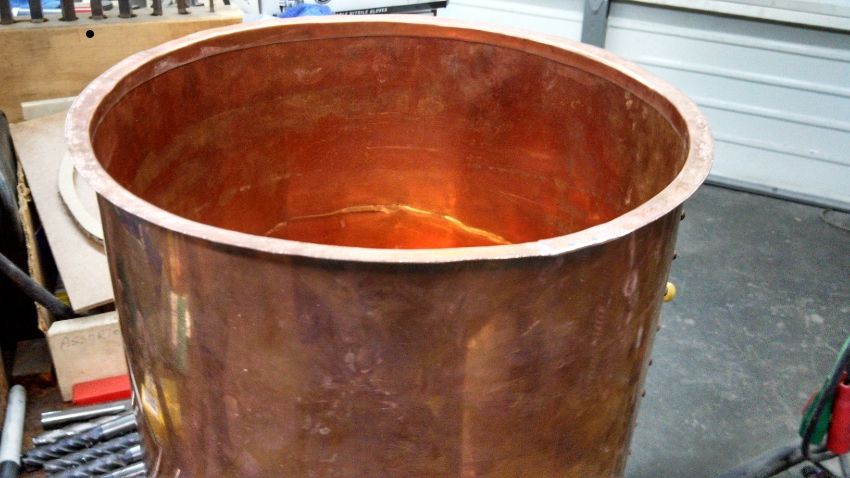
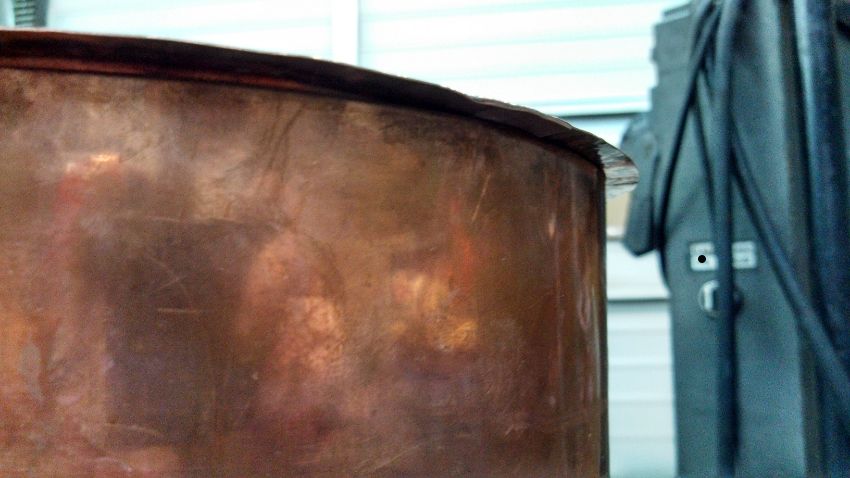
Needs a few finishing touches, but I think it came out fantastically! Thanks for reading... I know, this post was looooong

Whiskey is rays of sunshine, held together with water.


