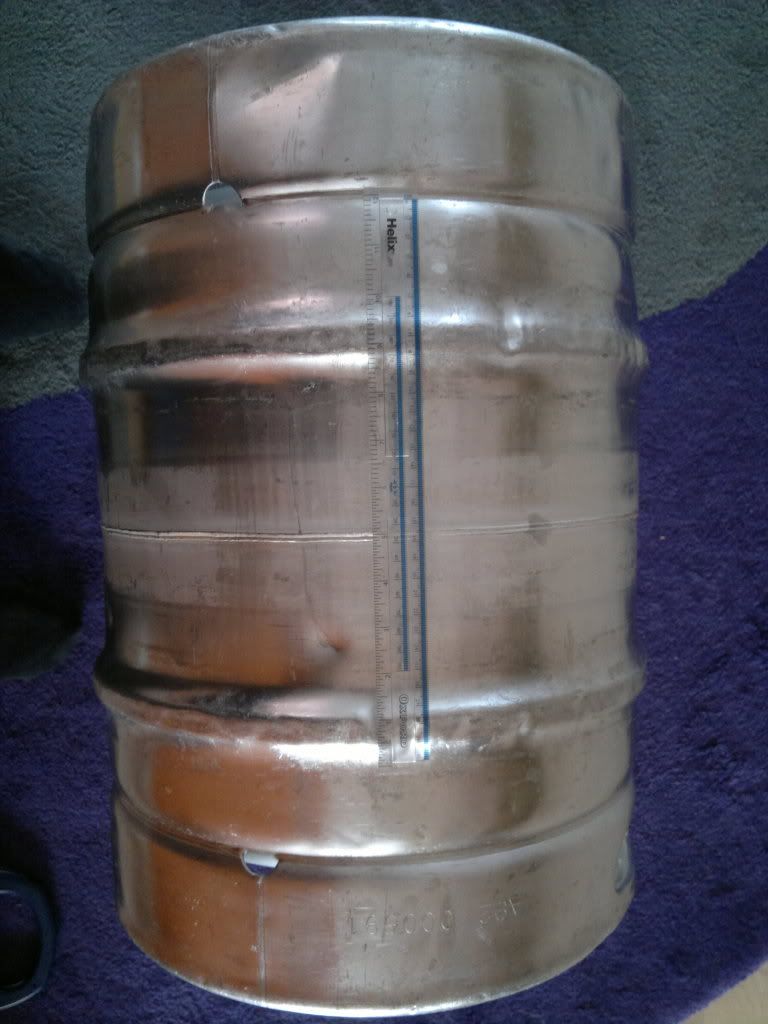
Hey guys - I finally got my keg yesterday, it's 50l and looks in to be decent shape, but I have a problem. Where I was going to use eternal frost's element installation method, there is a ridge in the keg! Here are some pics:
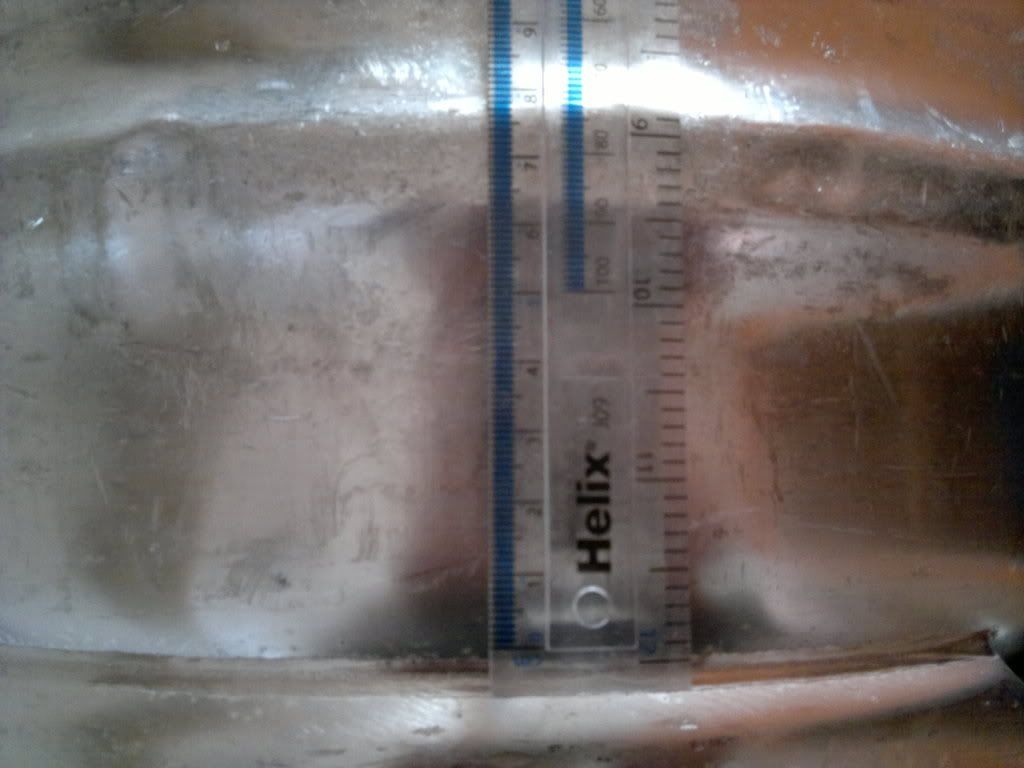
The ruler is about 30cm (1 ft) long
I was thinking I could: put the bottom bolts on the skirt and drill the main hole just above it; if the flange is small enough just put it between; flatten the ride to an extent. I haven't seen anyone with this problem as of yet, so i'm hoping there's a simple solution. What do you guys think?
I haven't got my universal flange kit yet (will get it when I head over to the US for Easter ), but assumed the gap between the ridge and the top of the skirt was too small, then again I'd underestimated the size of the keg until I got it - which just proves I can't judge sizes over the net. How big is the flange IRL? There's about 5cm between the ridge and skirt.
You are basically just going to need to go above or below the ridge. It is desireable to go as low as possible but you have to work with what you have. I would say that you will have no problem installing the universal kit below the ridge. I would pay attention to what element you then purchase. If you buy one of the low density ones that is wide with a bunch of curves you may not be able to thread it in without the element hitting the bottome of the keg. In this case, just make sure that you purchase one of the straight element designs.
I'd suggest going just above the lower ridge because going below could cause interference problems between the element and the curved bottom... It just needs to be low enough so you can run a minimum sized wash of about 5 gallons... When in doubt you could always add a gallon of so of extra water if the wash is small and you are running in pot still mode...
tes my adapyor kit was low on my 50l keg
at the bottom where the rim is weldeded on,
inside liner is lower than the top of the rim so when you drill thru the rim inside the keg is still going down, like a double skin
hard t for me to explain so here is some pics ( I hope )
I checked the dimensions again, it's 2.5" for the adaptor, I think I might be able to fit it if I place it where there's a dent (flattens part of the ridge). With a few measurements I worked out that if I placed it above the ridge my min. amount of backset is ~21l, should be ok for 25l strips, but even on a full charge spirit run i'll be cutting it fine
I think I get you Squint - where the skirt meets the body there is a line, but the body goes a bit below that line so if you drill through the skirt you go through the body too, but it's curved? Did you have any leak problems with drilling through the two 'skins' as you say?
No, No leahs, been running it over 2 years now no problem
myself I used Aquarium siliicone around the inside of the adaptor and the bolt heads, and I let it cure for a week before a cleaning run
my personal thoughts are that it does not kill fish, and it is in the bottom of my boiler and I am still here,
it is up to you what you seal it with
used Marine Grade M8 x 75mm S/S nuts & bolts
bit tricky but I put the bolt heads inside and the nuts outside and cut the excess bolt of after fitting a cover/box over the electrics ADMINS edit --Dont care about your personal thoughts on using a unproven plastic in a still .Like rule says if you gonna suggest its use have info to show it resistances or lack of to hot alcohol
Do you actually need the silicone? I've got two bolts (S/S of course) in my boiler without any kind of gasket. Bolt head on the inside of the kettle, nut & what it's holding on the outside.
Never leaked even a drop, and no plastic to worry about.
I didn't need silicon. I just used 3 layer of natural cork as my gasket and stainless steel bolts. I did have to make little natural cork "washers" for the bolt heads on the inside to keep it form leaking. It's fixed now and working great!
War is Peace
Freedom is Slavery
Ignorance is Strength
On my keg I cut copper washers to go on both the inside and outside of the keg, as my drain fitting has a flange on the inside and a backing ring on the outside. With plenty of compression the edge of the hole in the stainless bite into the copper washer. I did use silicone on the otside to seal the threads.
My elements have a big cork washer on the inside and outside of the keg. I did use silicon between the element boss and the keg and a thin smear between the cork washers and the keg. I recon it is ok. The fittings will create a bit of a flat spot. Mine did and my holes were 60mm dia to take the bigger UK style element fittings.
If you can find a nearly flat area just wider than the hole, you should be OK.
Chiller wrote:Myles, how do you seal your element in that?
UK style elements come with a 2.25" thread. These bosses have a parallel thread on the inside, the elements just screw in with some PTFE thread tape and bottom out against a PTFE washer that is trapped between a backing flange on the element and the edge of the boss. No leaks.