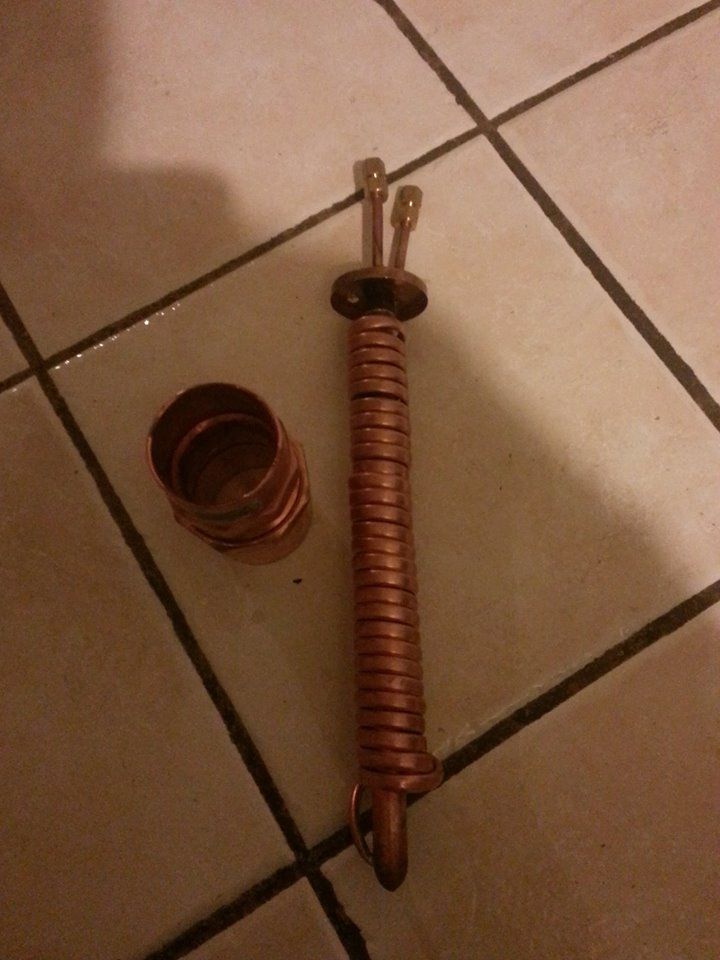
This is what my condenser came out looking like. No leaks, first time ever doing something like this and got it on my first try. Don't get me wrong, i think the coils are too close together and there are some near kinks, but it runs water threw it fine. The real test will be soon enough, just waiting on my thermometers and valve before I put the last few parts on.
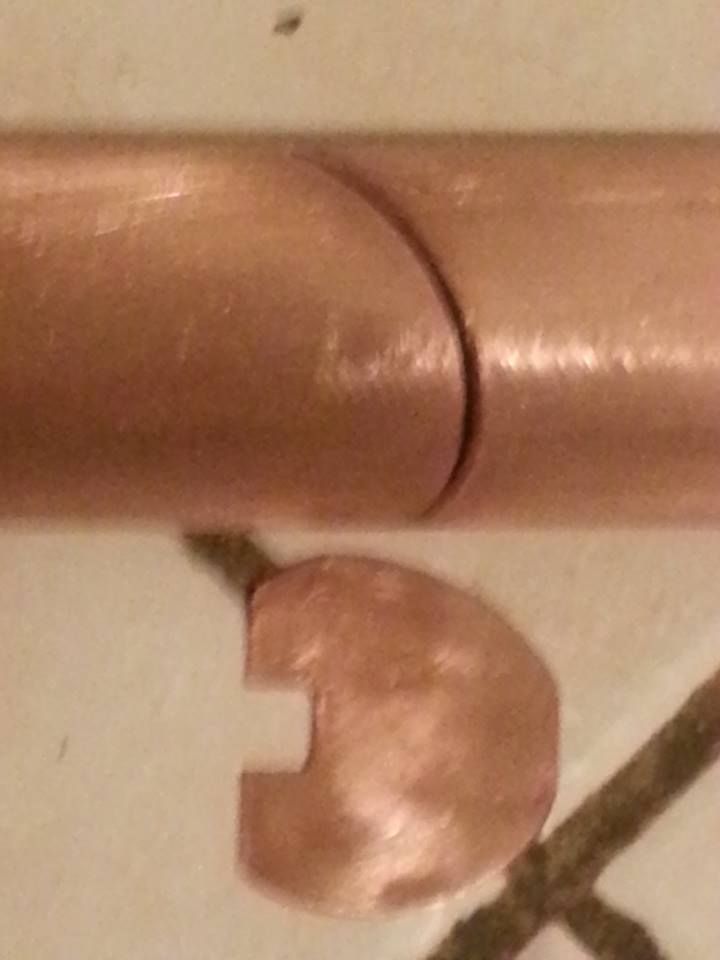
This is the bottom plate, I need to take a new pic now that I have both plates done and installed. Wow what a tedious job! I marked the angles out and cut them free hand with a hack saw and then sanded out the grooves to make them wide enough for my plates that I made from hammered out pipe.
I need to take a pic of my parrot(gonna have a stand made for it by my friend that is a black smith.. I hope). Should have at least 4-5 more pics coming soon!