1.http://s1140.photobucket.com/albums/n57 ... AG0171.jpg Used hole saw to drill the hole for bungs and airlocks in the lids of the 5 gal buckets we used for fermenting.
2.added water to the buckets, left about 5 inches or so from top. (no pic)
3.http://s1140.photobucket.com/albums/n57 ... AG0174.jpg weighed up the corn using a digital bathroom scale good to tenth of a pound.
3A. http://s1140.photobucket.com/albums/n57 ... AG0172.jpg remember to tare your scale and add your materials before it shuts itself off
4.http://s1140.photobucket.com/albums/n57 ... AG0175.jpg same for the sugar
5.http://s1140.photobucket.com/albums/n57 ... AG0176.jpg adding distillers yeast
6. http://s1140.photobucket.com/albums/n57 ... AG0177.jpg after everything was in about 2-3 inches from the top of the bucket.
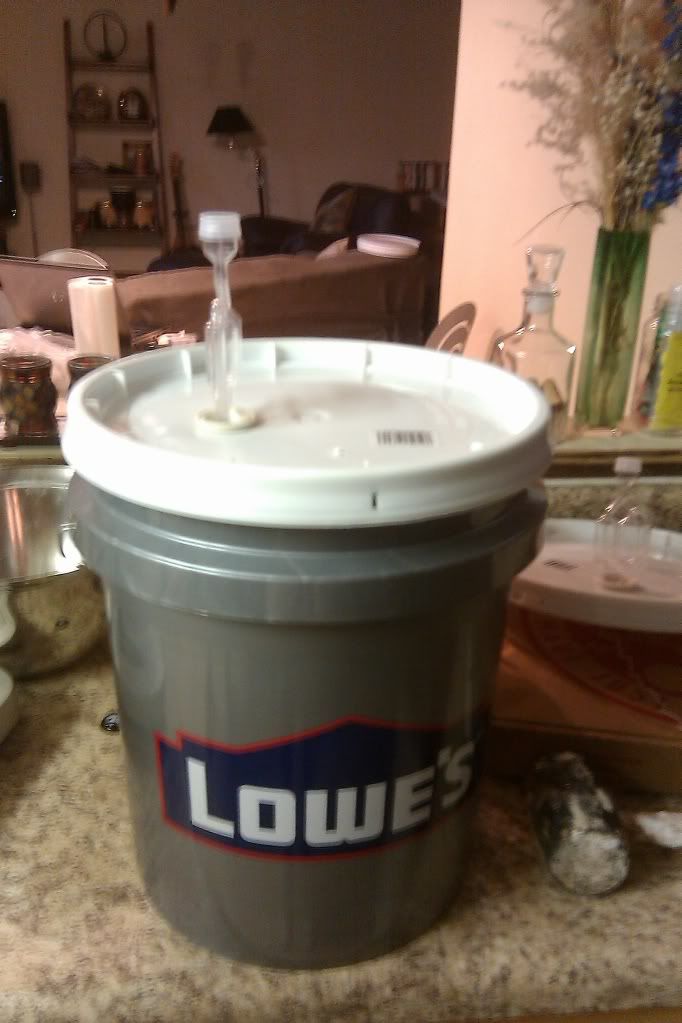
7. http://s1140.photobucket.com/albums/n57 ... AG0178.jpg used rubber mallet to hammer lids down tight, labelled lids with time/date and ingredients.
We ended up making two batches (buckets) with different quantities, as on the first one I didnt realize we were really only going to have about 3.5-4 gallons of water, so we scaled the quantities down accordingly for the second batch. Heres another helpful tip for complete noobs such as myself; you have to add water to the airlocks. We were a bit concerned when they werent bubbling after a day or so, until we had this epiphany
Suffice to say we got it right, based on the product we 'stilled yesterday
Huge thank you to Short Bus for answering numerous rookie questions via PM, thereby saving me a public shaming, Uncle Jesse for the recipe, and all the admins and mods who keep this wonderful resource online. You guys rock.
Also, aforementioned mods or people on this forum smarter than, feel free to comment below with specific instructions on how to get images to appear in my posts, i tried using the IMG tool and linking it to a photobucket account, it told me the images speifications acouldnt be identifed or something like that.