First the tools that are required -

Propane torch with solder iron tip (or you could use an electric solder iron as pintoshine describes)
Kester 817 liquid flux - says on label good for soldering SS (pintoshine has alternative fluxes)
95/5 tin/silver solder - your garden variety plumbing solder
Brush for applying flux
SS scrubby and SS brush on dremel tool
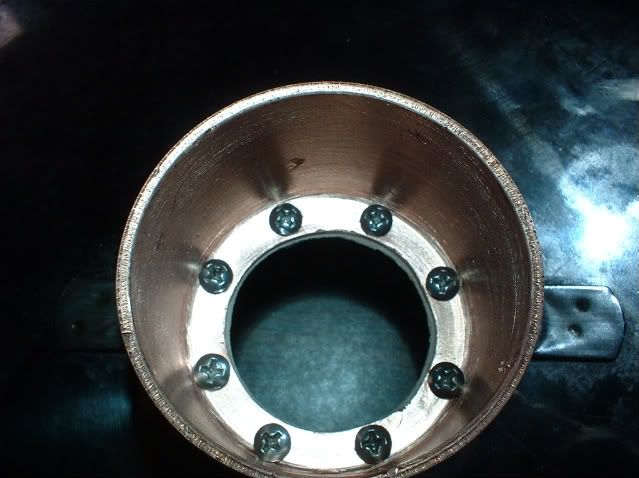
For this soldering project, I cut the rim off a SS bowl and I'm going to solder this rim to a SS pot. The idea is it will make it real easy to attach a SS bowl (I soldered a copper fitting to this bowl earlier) with black clips and seal with flour dough.
First step is to clean the SS surfaces to be soldered. First with the SS scrubby and then with a SS brush attached to the dremel tool. Apply some liquid flux and then attach securely with some black clips and start soldering.

Actually I found it easier to solder with the pot in this position -

Man I could solder SS to SS all day long. It's really easy to do.
Here's the final result -

Some tips -
- pieces should be clean. I had four spots where the solder didn't stick. No worries, when it cooled down, I used the SS brush to clean it up, applied some flux and resoldered.
- do not attempt with just a propane torch, you'll just scorch the SS. The trick is the soldering iron.
- I found it best to solder an inch at 12,3,6, and 9 o'clock positions. Then I soldered an inch in between those. This way I could ensure the bowl rim was perfectly aligned on the pot.
- soldering SS to SS is more like making a little pool of solder and spreading it around. Nothing like soldering copper. It's very fast once you get started. Apply liquid flux again if it doesn't stick to the SS. It should right away.
Gee, I feel like a pro after doing this. Thanks to pintoshine for the great instructions.
Here's how the pot goes together with flour paste -

A couple of black clips and this boiler is so easy to set up and break down.